This post may contain affiliate links, which means I’ll receive a commission if you purchase through my links, at no extra cost to you. Please read full disclosure for more information.
Discover my delicious honey-goat pizza recipe, with a light, honeycombed homemade dough. Delicious and full of flavour, this pizza with a hint of sweetness is a real nugget: watch out, it' s addictive!
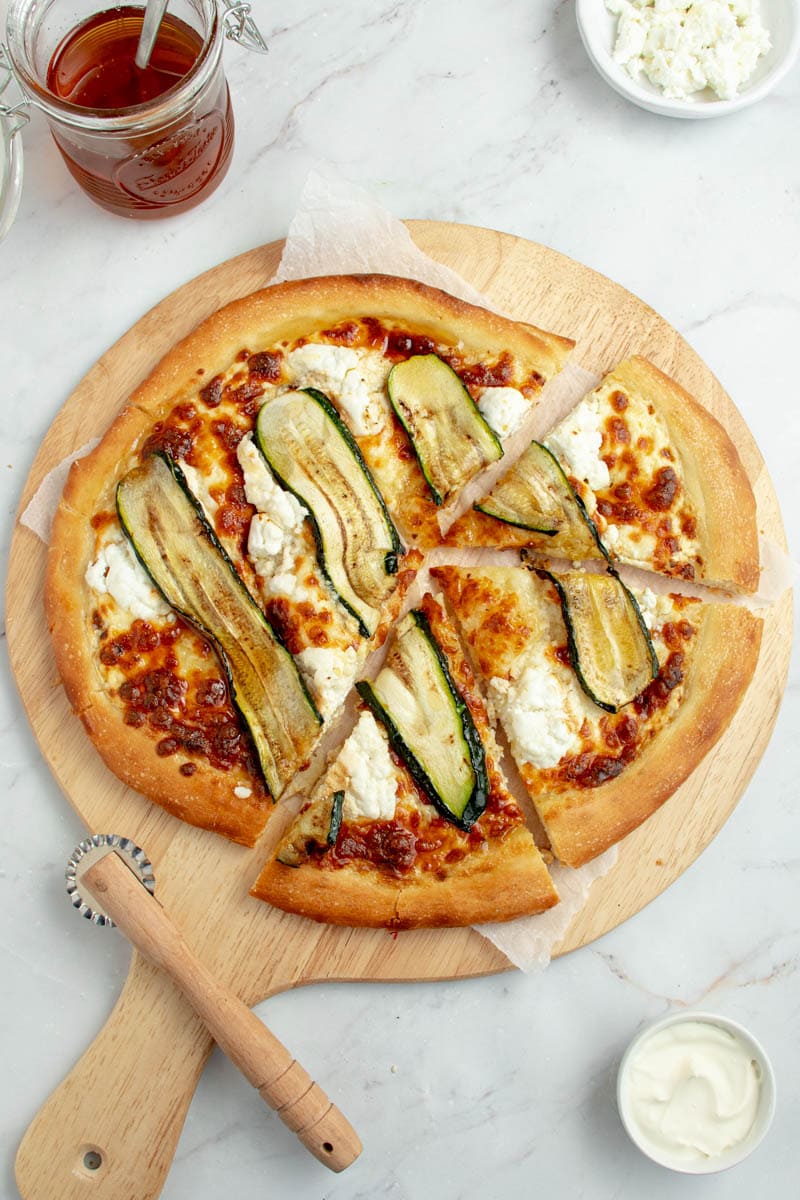
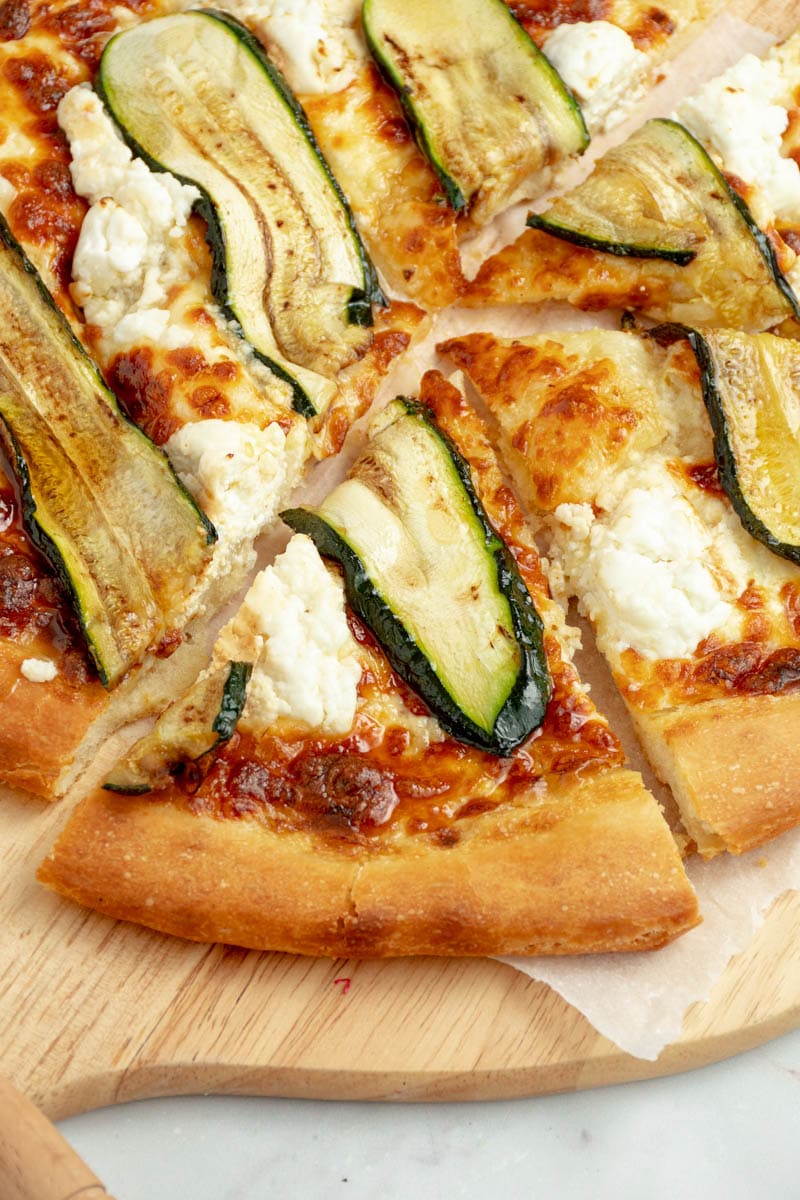
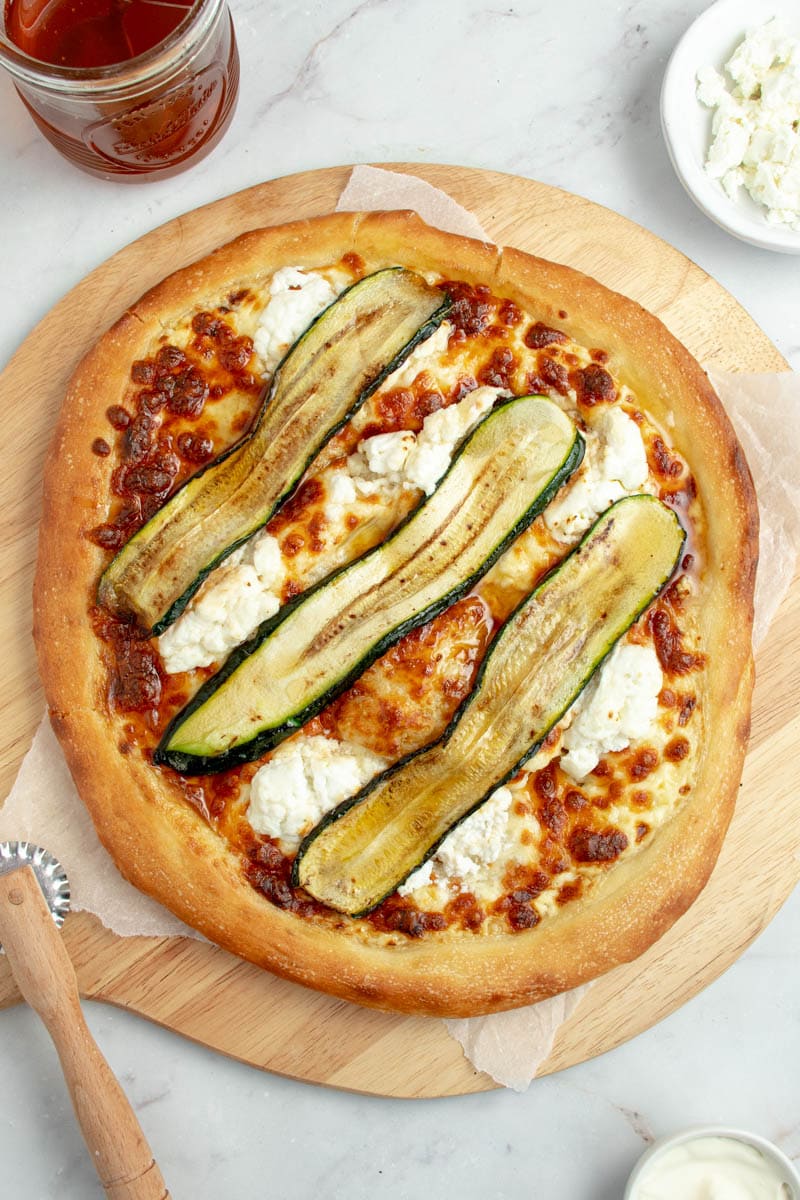
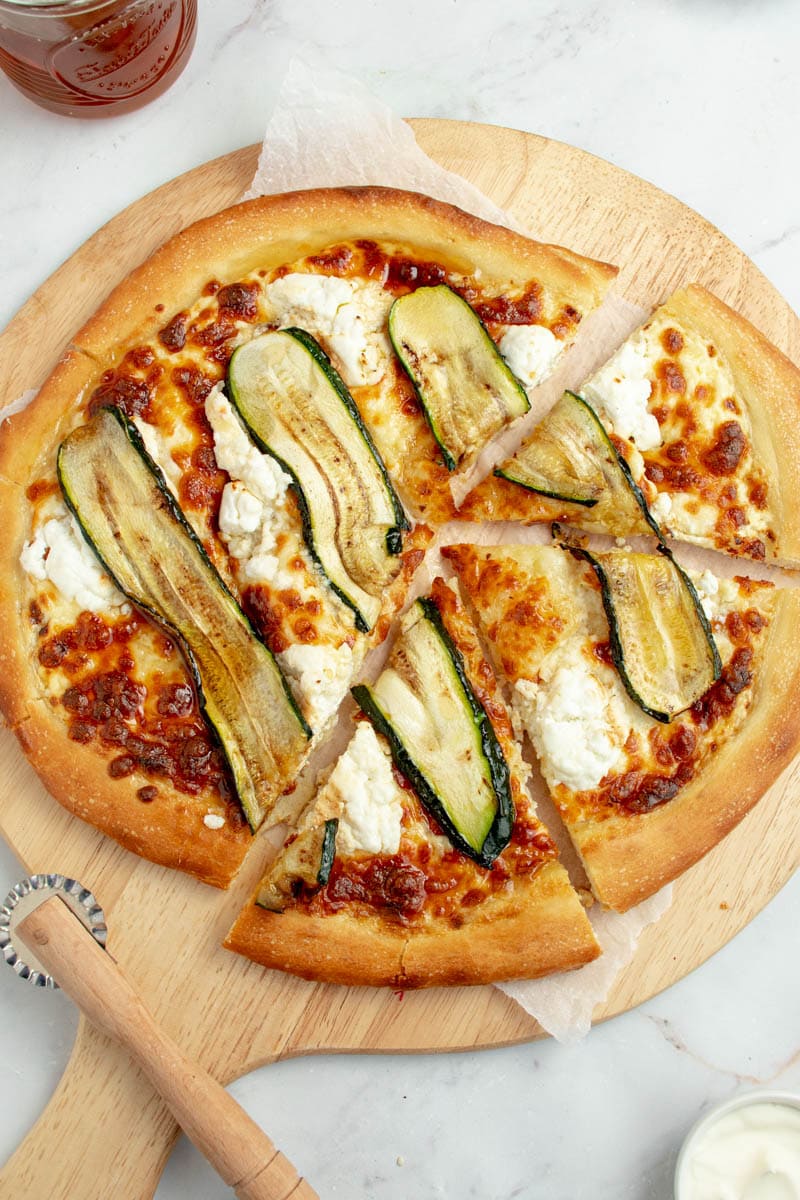
Ever since I discovered the honey-goat pizza with grilled zucchini slices in a restaurant, I can't get enough of it! It's so delicious, it's really incredible, it really adds something extra. Try it, it's 2000% worth it! But of course, you can do without.
And if you like pizzas, you'll definitely like this one with pesto, mushrooms and goat's cheese or this Margherita with mozzarella-filled edges .
💙 Why you'll love it
- It's easy to make and, with all my advice, it's foolproof.
- It's really delicious, as if you were in Italy!
- It requires only a handful of ingredients.
- She's a vegetarian.
- It's as fun to make (with friends or your kids) as it is to eat!
🧀 Ingredients
These are the main ingredients, and the quantities can be found in the recipe card below.
- Flour: buy real Italian strong flour., it's what's going to make ALL the difference !
- Water.
- Instant yeast
- Salt
- Creme fraiche
- Goat cheese: I recommend hard goat's cheese, as it often has a slightly stronger taste, perfect for this recipe.
- Grated cheese: I use mozzarella, which melts really well on pizzas, but you can use any cheese you like!
- Zucchinis: in season from May to October included. Don't hesitate to use out-of-season frozen zucchinis.
- A little basil.
🍴Utensils
If you're not sure which utensils or food processors to buy for cooking, discover my guide to kitchen tools and utensils .
✅ Vegan and dairy-free version
- To make this recipe vegan, replace the sour cream with vegetable sour cream. And use the vegan cheese of your choice.
- To make this recipe dairy-free, you can use dairy-free creme fraiche. And use a vegan cheese instead of goat cheese and grated mozzarella.
🥰 Chef's tips
- As European, I'm used to working in grams and milliliters. For this recipe, I really recommend using a digital scale, which is much more precise. That way, you'll be sure to succeed with your recipes.
- The importance of a long resting time The secret of true Italian pizzaiolo is resting the dough. My very first pizzas rested for just 2 hours, and they were nothing like the ones I'm offering you today, which rise for 48 hours: much softer, much better tasting, crisp edges and a real pizza look. So yes, it's a bit long, but it's worth it!
- No air during rising : to ensure successful rising, place your pizza dough in a large bowl (it will expand, so it shouldn't be cramped) and cover with cling film or bee-wrap. We often read that a clean cloth is enough, but this is not the case: air must not get through.
- The importance of low-temperature fermentation: with dough rising in the fridge, the dough tastes much better but is also better digestible.
- Don't use a rolling pin for shaping: use your hands, it's very satisfying and allows the air to circulate well without crushing it (which would be the case with a rolling pin). Start at the center of the pizza and gently push towards the edges with your fingertips, stretching the dough.
- For crispy dough: when rolling out your pizza dough, place fine semolina on the work surface, not flour. Plus, it's easier to work the dough with semolina.
- No special pizza oven for baking? It doesn't matter In restaurants, pizzas are cooked in pizza ovens, but not everyone, including me, is lucky enough to have one at home! I use my traditional oven, but on the other hand, I use the same principle as in restaurants: rapid cooking at a very hot temperature, using the rotating heat mode.
💡 Frequently Asked Questions
Use the fan-assisted mode of your oven and raise the temperature to the maximum of your oven: mine goes up to 570°F/300°C.
For example, you can add grated mozzarella, thyme, pine nuts, arugula or even walnuts.
There can be two reasons for this: either the growth is not finished and the gluten network has not yet developed well. Either the dough is still too cold. In both cases, there is no point in forcing it and using a rolling pin to crush it as best you can. I advise you instead to let your dough rise again for 30 minutes to 1 hour in a place at 82-86°F/28-30°C, and to repeat the test afterwards.
❄️ Storage
I recommend that you eat your pizza within 24 hours of baking. To reheat, just pop it in the oven and you're done!
If you've made too much dough and want to freeze it, no problem: place your ball in a freezer bag, remove as much air as possible and put it in the freezer. You can keep it like that for 1 to 2 months.
🇮🇹 Other Italian gems
- Panzerotti fritti: delicious fried pizza crescents
- Sourdough Pain Ciabatta
- Truffle and Parmesan risotto
If you make this goat cheese pizza, it would be so nice to leave me a comment and rate the recipe ⭐️⭐️⭐️⭐️⭐️. You can also tag me on Instagram, Pinterest, Facebook or Tik Tok, or even send me a photo, I love seeing my little dishes in your homes!
📖 Recette
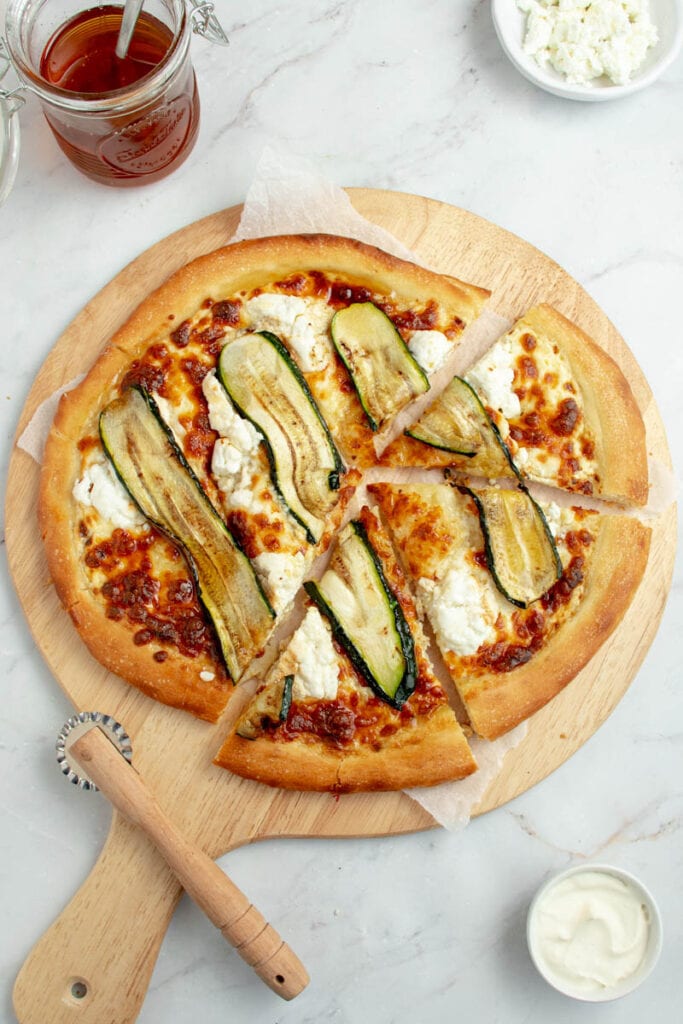
Goat cheese pizza
Ingredients
Pizza dough
- 1 ⅔ cups strong Italian flour 00 type, with 12% protein (375g)
- 1 ½ teaspoons instant dry yeast (5g)
- 1 cup water lukewarm (225g)
- 1 ½ tablespoons extra virgin olive oil (21g)
- 2 teaspoons salt
Garnish
- ⅔ cup creme fraiche (150g)
- 1 ⅔ cups grated mozzarella (180g)
- ¾ cup goat cheese (180g)
- 1 teaspoon extra virgin olive oil
- 2 medium zucchinis thinly sliced
- 2 tablespoons honey
- 1 tablespoon fresh basil
- ½ teaspoon salt or to taste
- ½ teaspoon black pepper or to taste
Instructions
Pizza dough
- Mix the flour and instant yeast. Little by little add the lukewarm water, salt and olive oil. Mix the dough well with your robot for around ten minutes, until you obtain a smooth dough.
- Put it in a large bowl (the pizza dough will rise, so it shouldn't be cramped), place a light drizzle of olive oil on top and spread it with your hands or a silicone brush. Then cover the bowl with plastic wrap or bee-wrap and put it in the fridge for 48 hours (I know, it's a long time but believe me, it's worth it!).
- Once the dough has rested, collect it and leave it to rise for 2 hours at room temperature.
- Cut into two equal halves. Sprinkle your oven tray with olive oil and spread with a brush or handkerchief (or, if not, your fingers). Put on the first ball and stretch it with your fingers: start with the center of the pizza and gently with your fingertips, push towards the edges and stretch the dough until you get a nice round shape.
Garnish
- Cook the zucchini slices for 15 minutes (adjust depending on the thickness of your slices) in a frying pan with a drizzle of olive oil, turning the slices halfway through cooking.
- Preheat the oven to 570°F/300°C (or the hottest your oven can go) on fan-assisted mode. Finally prepare the garnish: spread the Daisy sour cream then add the grated mozzarella, salt and pepper.
- Cook the pizza on the middle shelf of your oven for 3 minutes (check it often, it can burn very quickly and every oven is different). Then add pieces of goat cheese and bake for an additional 2 minutes. Place the zucchini slices and bake for a final minute.
- Sprinkle with fresh basil and enjoy with the side of your choice (or solo). Repeat the process for the second pizza.
Notes
- As European, I'm used to working in grams and milliliters. For this recipe, I really recommend using a digital scale, which is much more precise. That way, you'll be sure to succeed with your recipes.
- Please note that the cooking time may slightly vary depending on your oven, as each oven is different.
- Storage - I recommend that you eat your pizza within 24 hours of baking. To reheat, just pop it in the oven and you're done!
- Freezing - If you've made too much dough and want to freeze it, no problem: place your ball in a freezer bag, remove as much air as possible and put it in the freezer. You can keep it like that for 1 to 2 months.




Répondre