This post may contain affiliate links, which means I’ll receive a commission if you purchase through my links, at no extra cost to you. Please read full disclosure for more information.
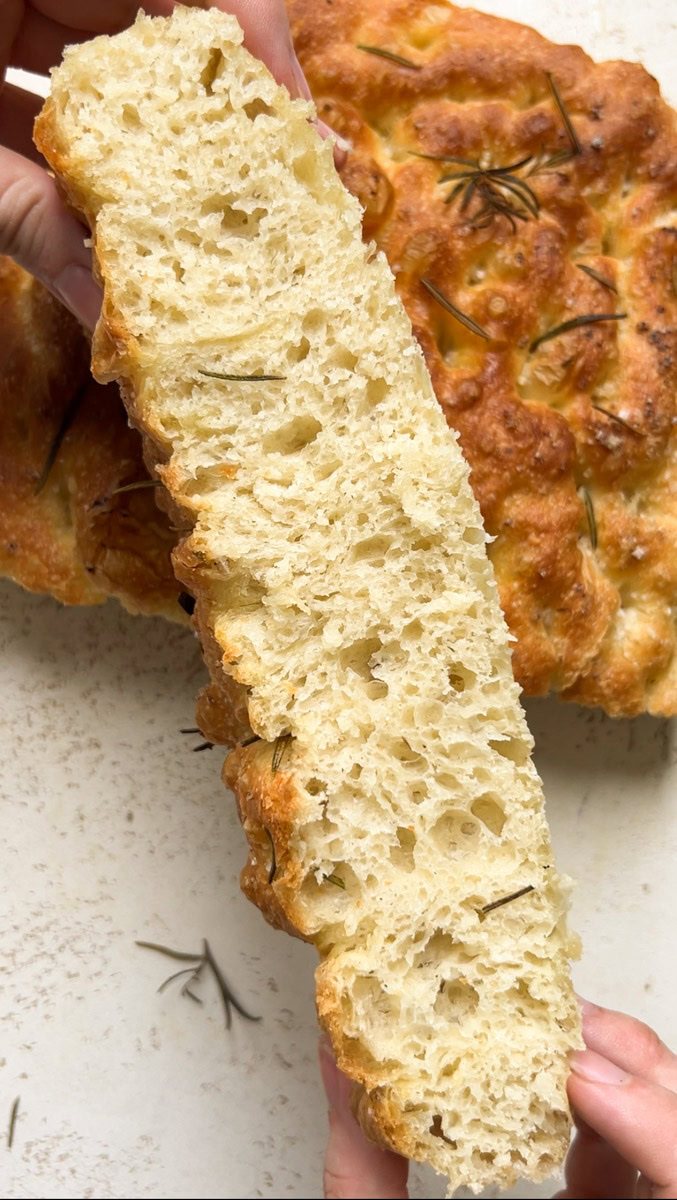
I'm sharing my Italian grandmother's recipe, whom I've seen making homemade focaccia for as long as I can remember. With its ultra-soft, fluffy interior and its crispy crust on top, you'll be completely addicted at the first bite!
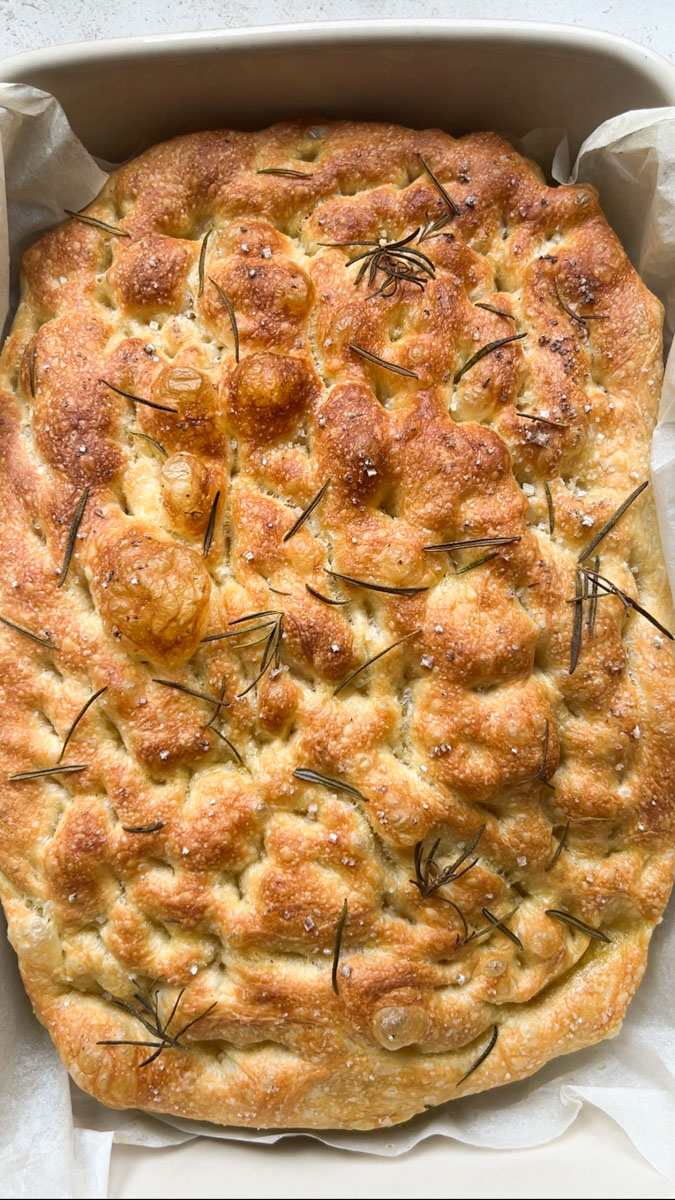
Originating in north-western Italy, focaccia is the Italian equivalent of the French fougasse. It's made with flour, water and olive oil, but there are almost as many recipes as there are Italians, and they vary from region to region.
💙 Why you'll love it
- Very easy to make, you don't even need a food processor, it's super easy by hand! All you'll need is a little patience.
- No sourdough starter required, and that's something!
- Trip to Italy guaranteed! Trust me, one single bite and you'll feel like you're in Rome in a typical Italian restaurant, or in Tuscany by the sea.
- Can be frozen - which is why I love to make a large batch and freeze it so I can enjoy it over time.
🇮🇹For Italian food lovers
🫒Notes on ingredients
You can find a full list of ingredients and measurements in the recipe card below. Here are a few ingredient notes to make this homemade bread.
- Italian bread flour - make sure to use a "00 flour" with 12% protein (high-protein flours are often preferred for bread-making because they produce a better gluten structure and a softer crumb), made especially for pizza and breads. Italian flours are the best for that! And when you buy your flour, make sure you don't buy a low-protein 00 flour (that we use in Italy for pasta, for example).
- Extra-virgin olive oil - let's be honest, the amount of olive oil used in the recipe may seem like a lot, but using plenty of olive oil contributes to the focaccia's incredible texture and taste! And that's what Italian cuisine is all about: generosity haha.
🍅Variations
Feel free to change this recipe to go with your tastes. I suggest several options:
- Fresh herbs and spices - oregano, thyme, basil, herbes de Provence. You can also flavor the dough with some turmeric, saffron or cumin.
- Cheeses - sprinkle the top of the dough with cheese before baking. Grated Parmesan, mozzarella, gorgonzola or even goat cheese can be delicious.
- Vegetables - add sliced vegetables to the top before baking. Cherry tomatoes, red onions, garlic cloves (or garlic confit that you add after baking) peppers, olives, zucchini or mushrooms are excellent choices.
- Olives and other toppings - In addition to olives, you can add other toppings such as capers, anchovies, pine nuts or sunflower seeds to add texture and flavor.
- Sweet toppings - for a sweet focaccia, you can add fruits like raisins, figs, apple slices or even dried fruits like apricots or cranberries, as well as sugar and spices like cinnamon on top before baking.
✨How to make the best focaccia ever?
Recipe details and quantities are in the recipe card below.
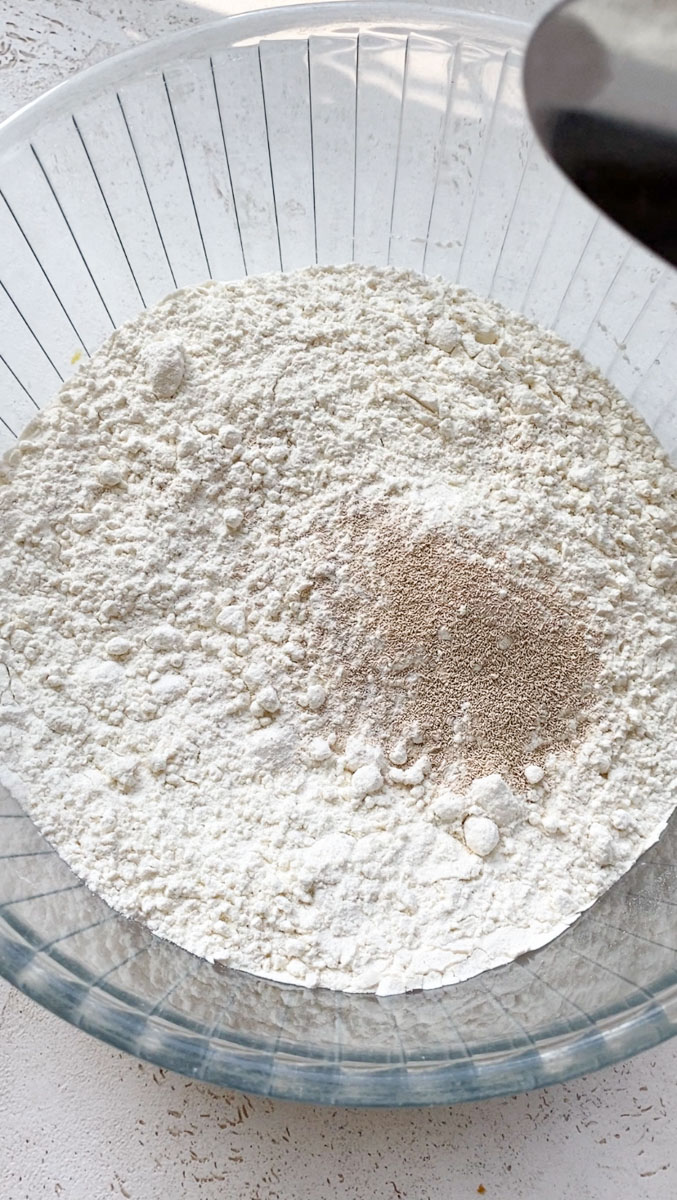
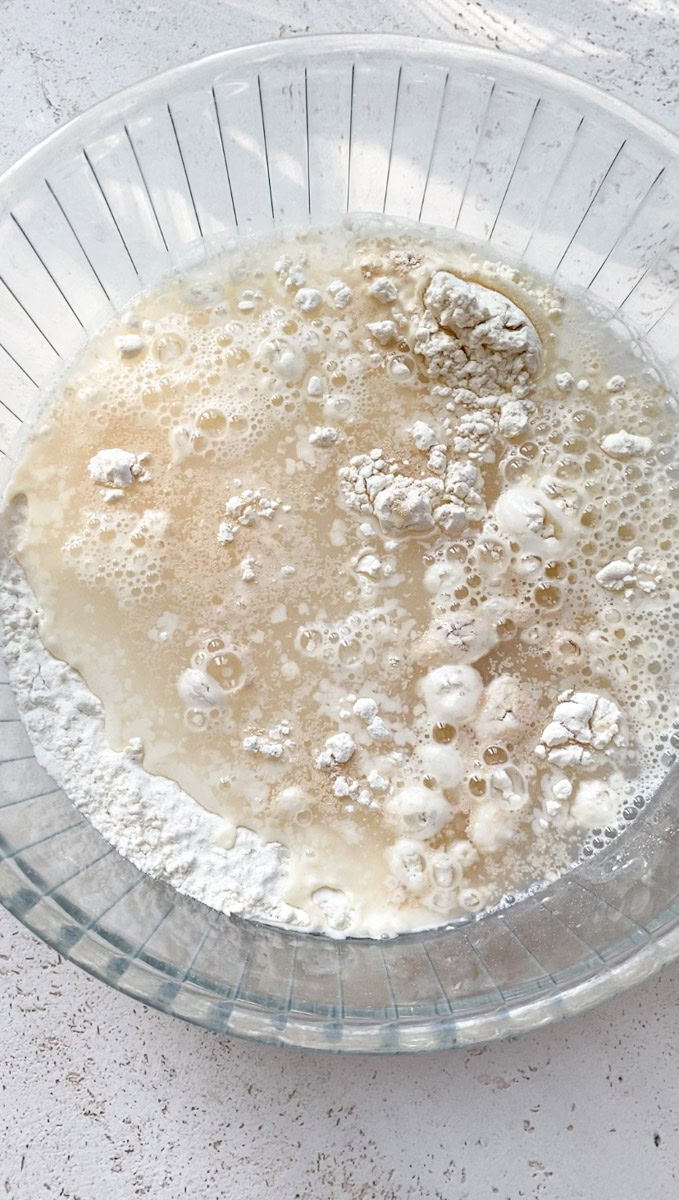
- Mix the flour and instant dry yeast in a large bowl. Melt the honey in another bowl with the lukewarm water, then add the mixture. Mix coarsely with a rubber spatula.
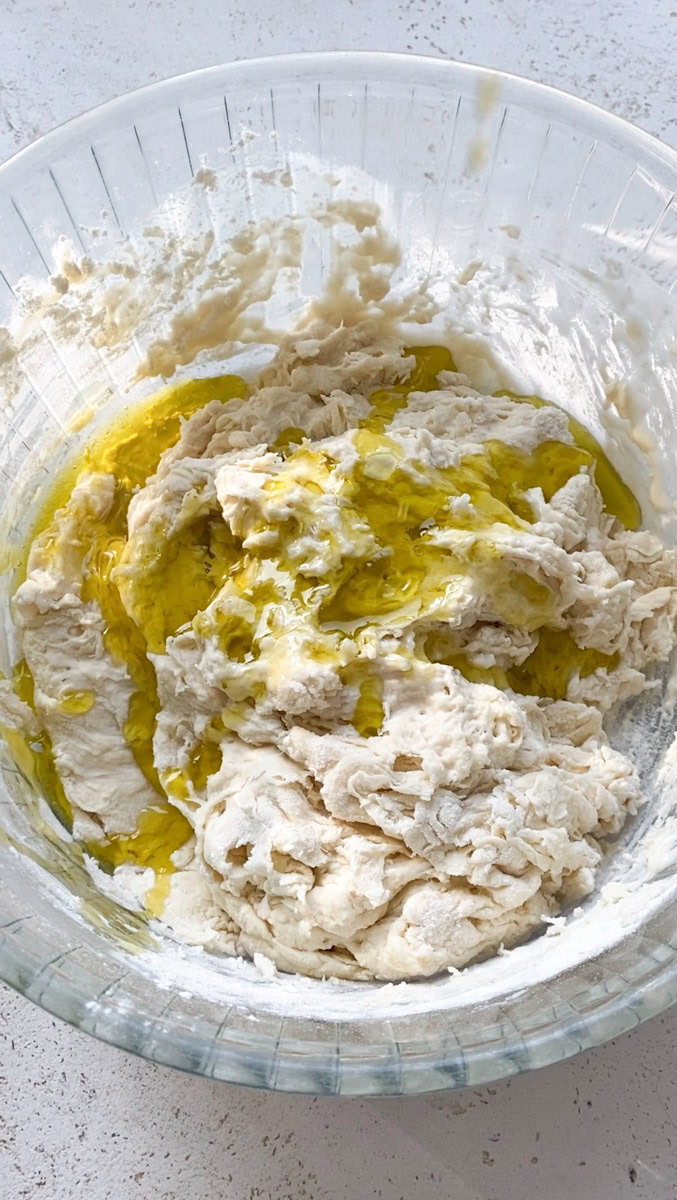
- Add 40 g olive oil, fine salt and mix with your hands this time (the dough is very sticky, which is normal). Leave to rest for 20 minutes.
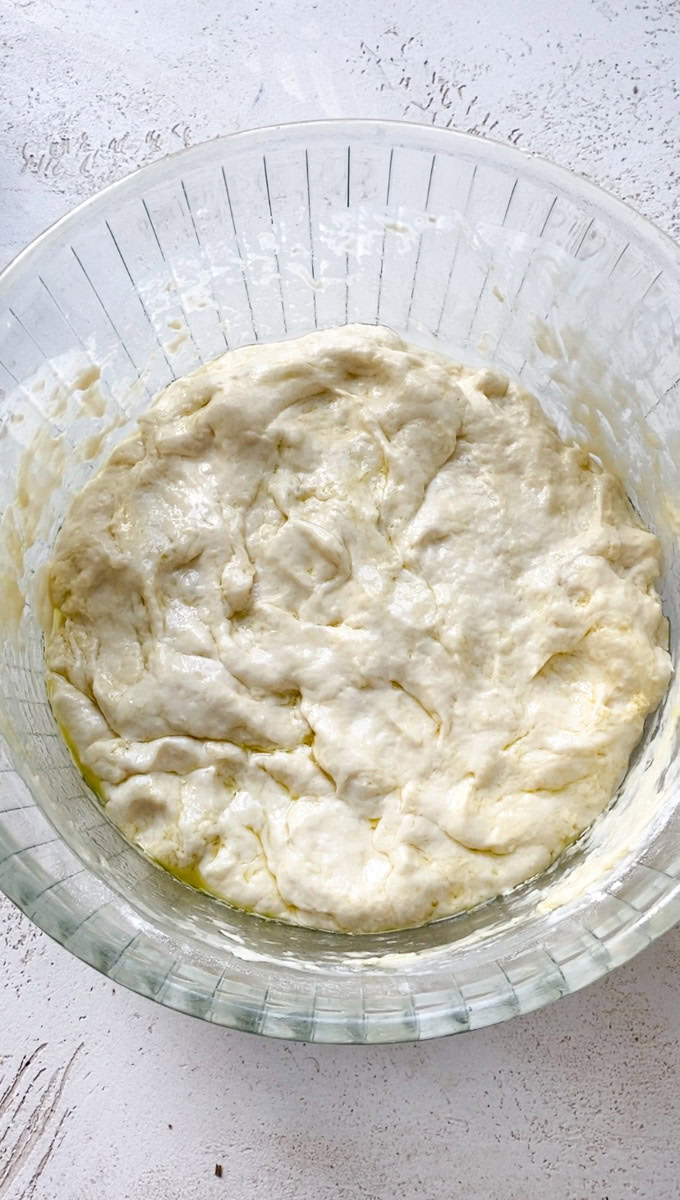
- Moisten your hands, make 3 series of 4 folds and leave to rest for 20 minutes.
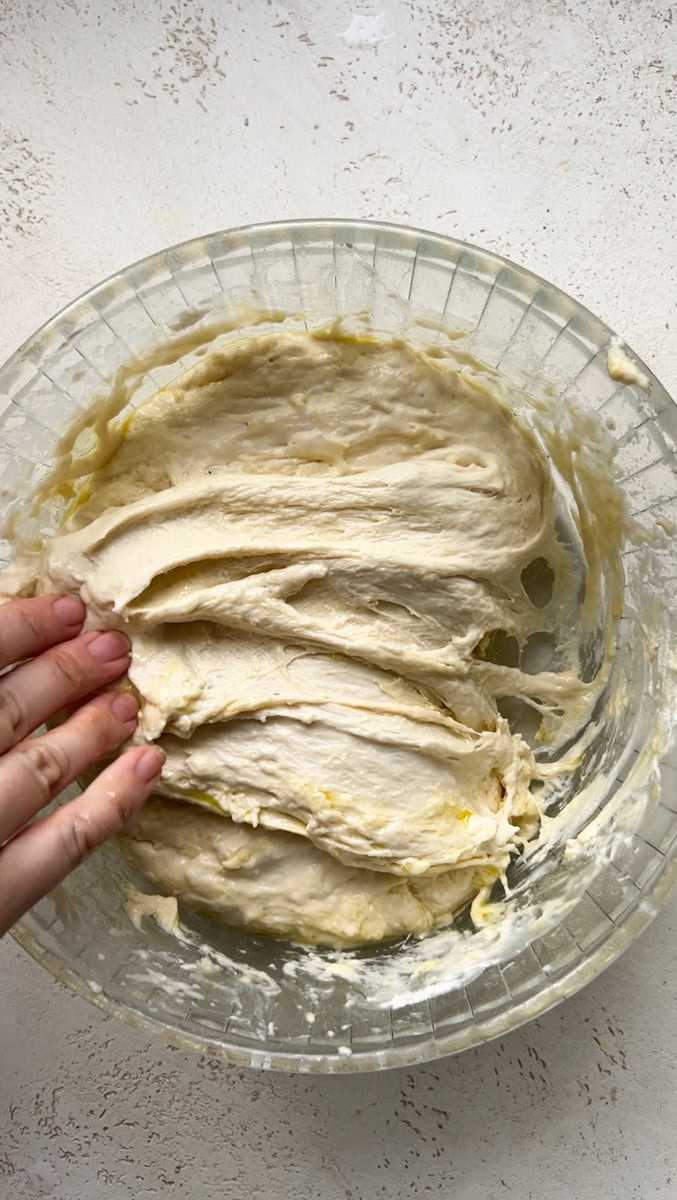
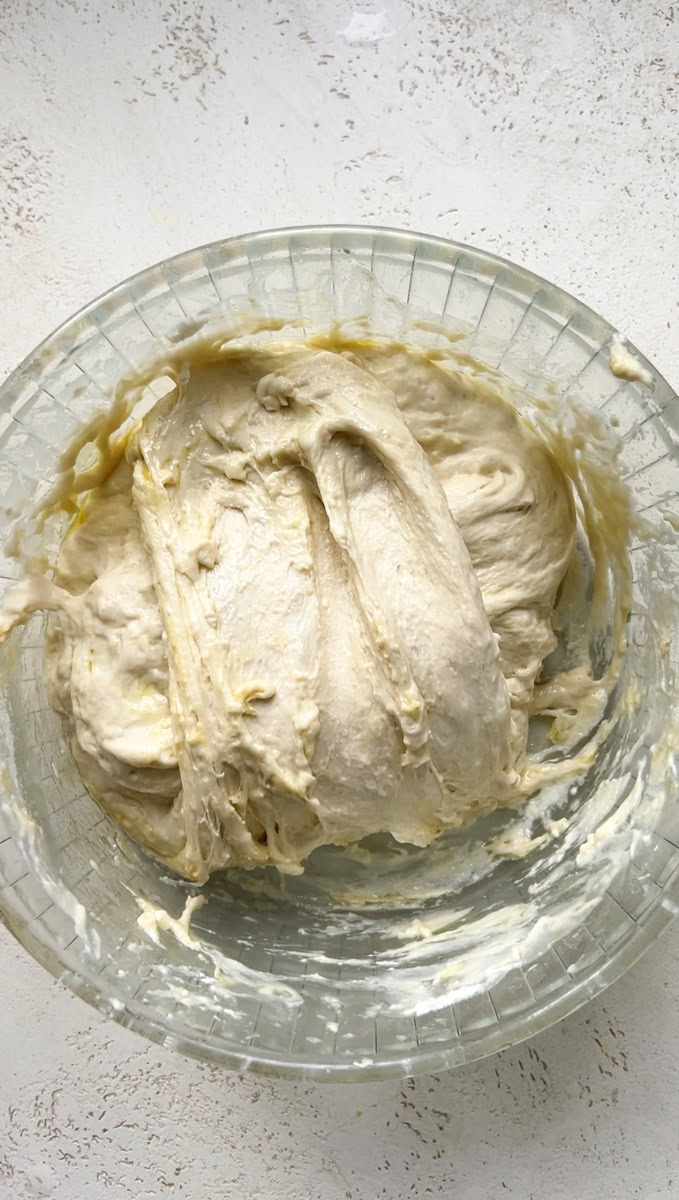
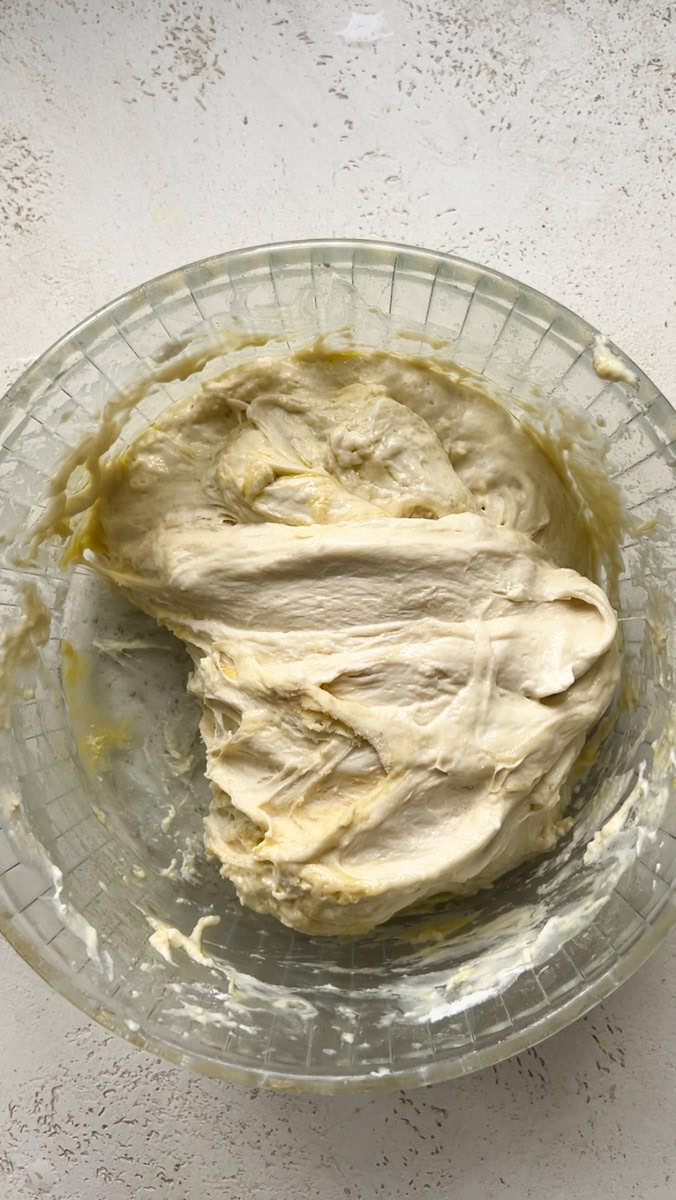
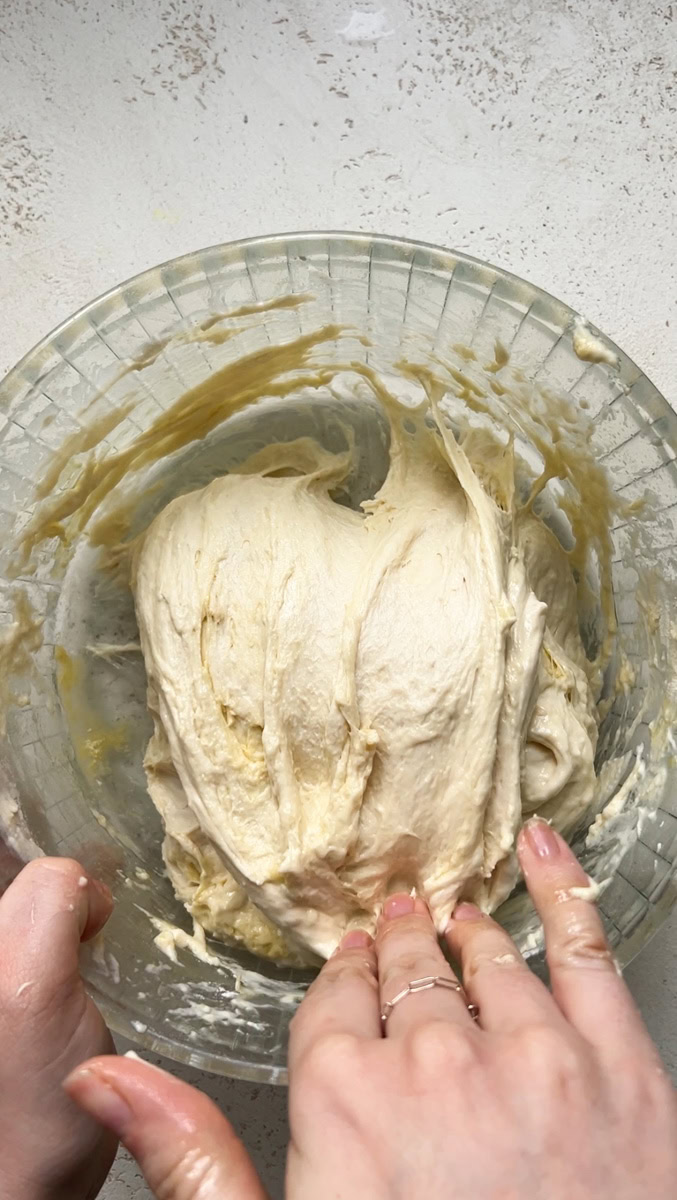
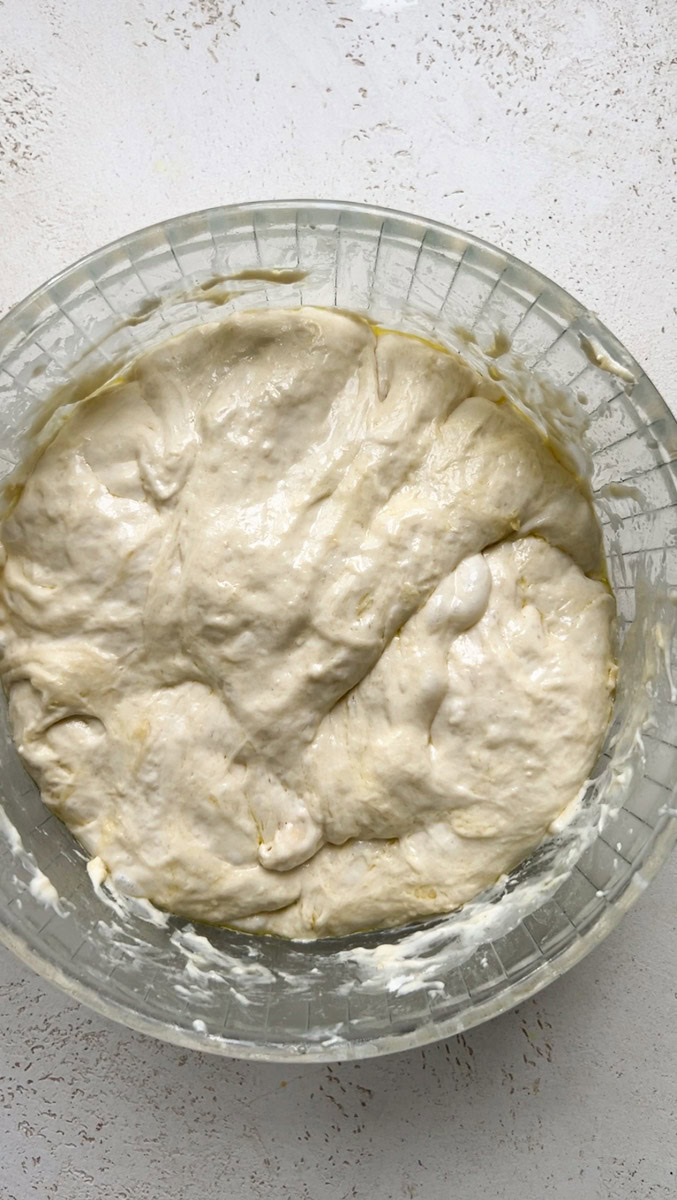
- Moisten your hands, make 3 series of 4 folds and leave to rest for 20 minutes.
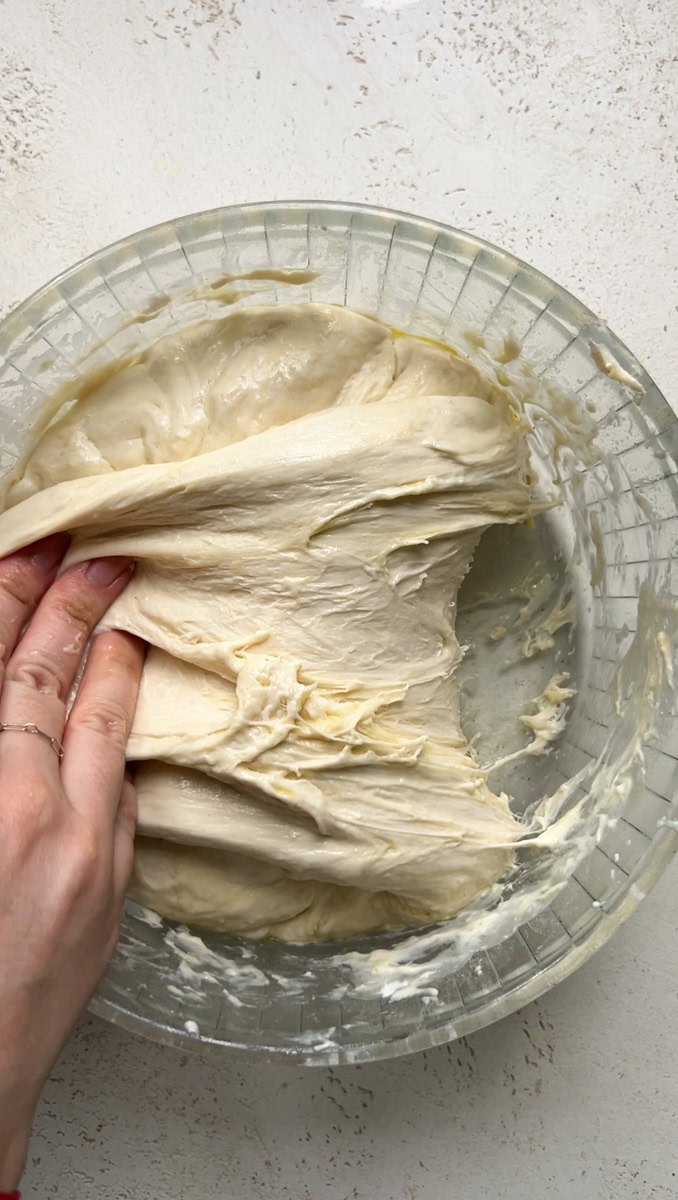
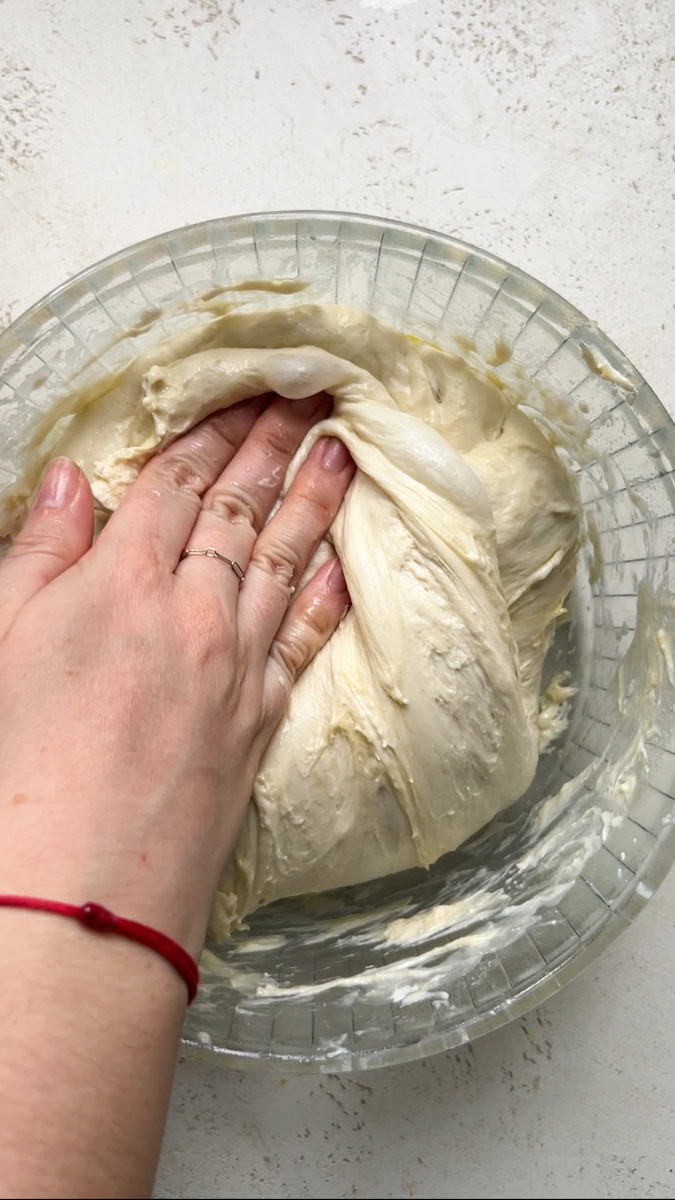
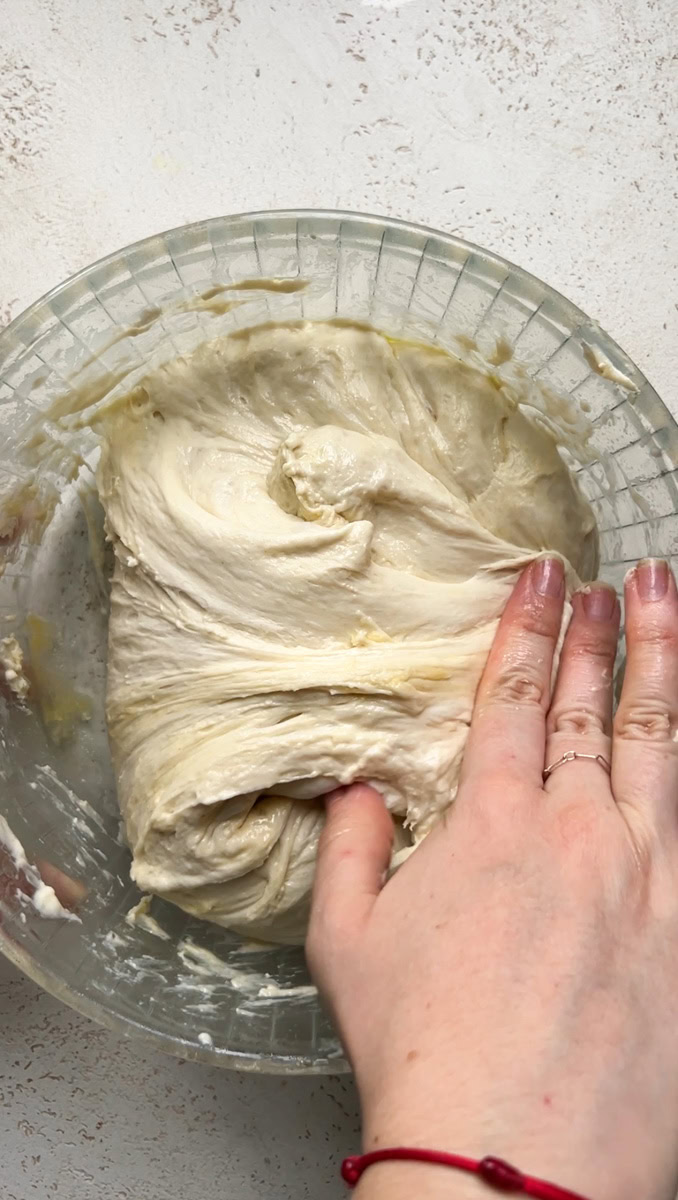
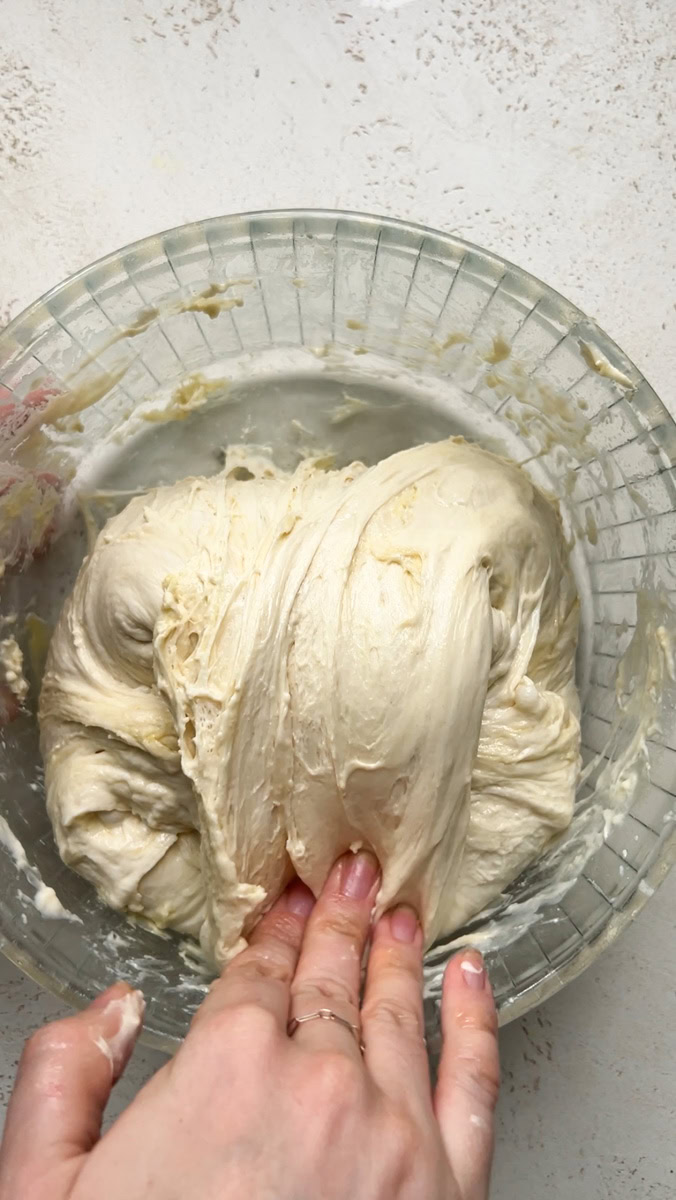
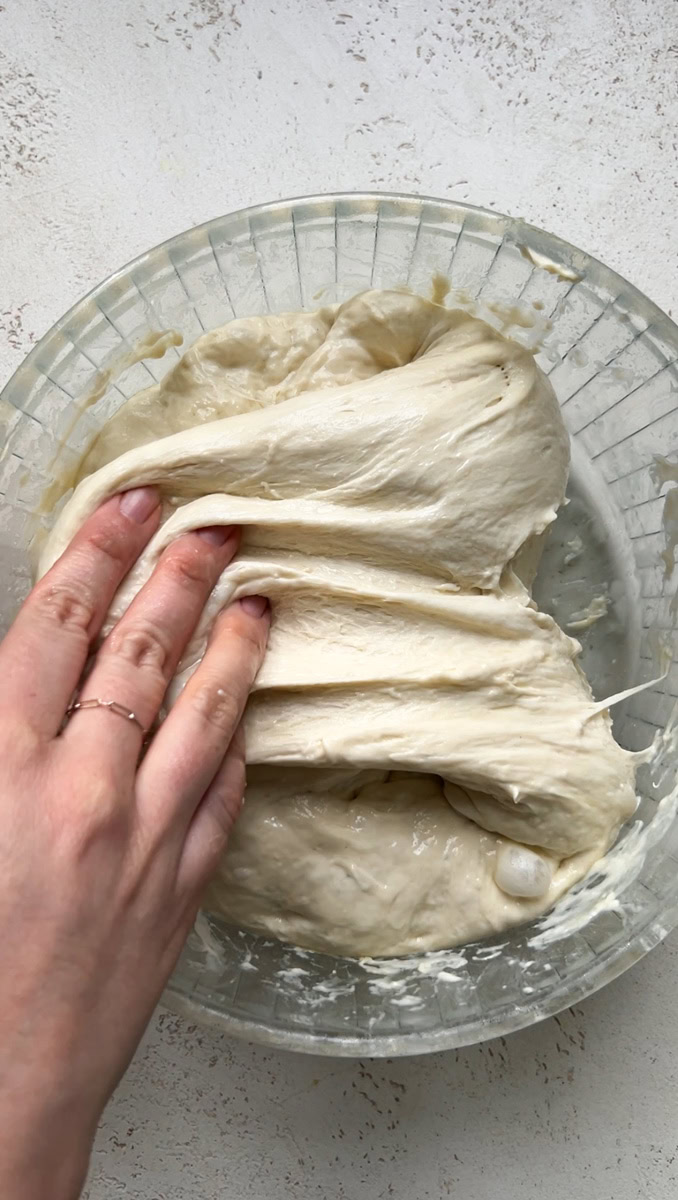
- Moisten your hands one last time, make 3 series of 4 flaps, cover the bowl tightly (otherwise you'll end up with a crust) and put in the fridge for 18h (be careful not to put the bowl in the coldest part, which is often at the top, but in the middle instead).
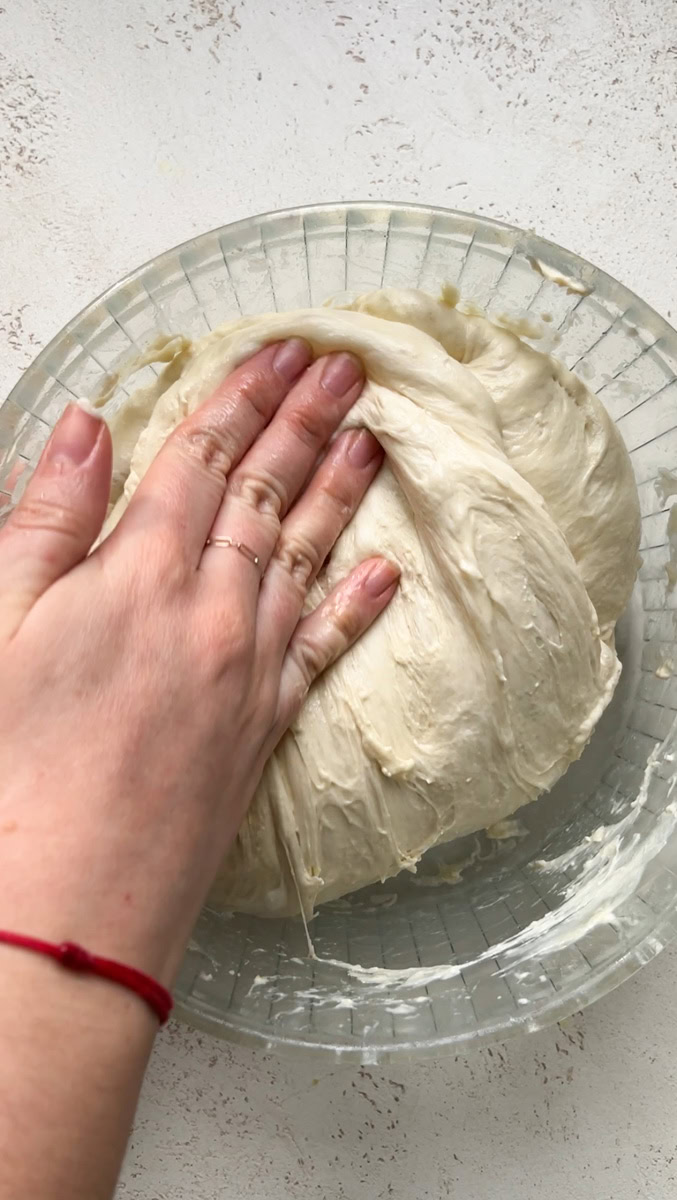
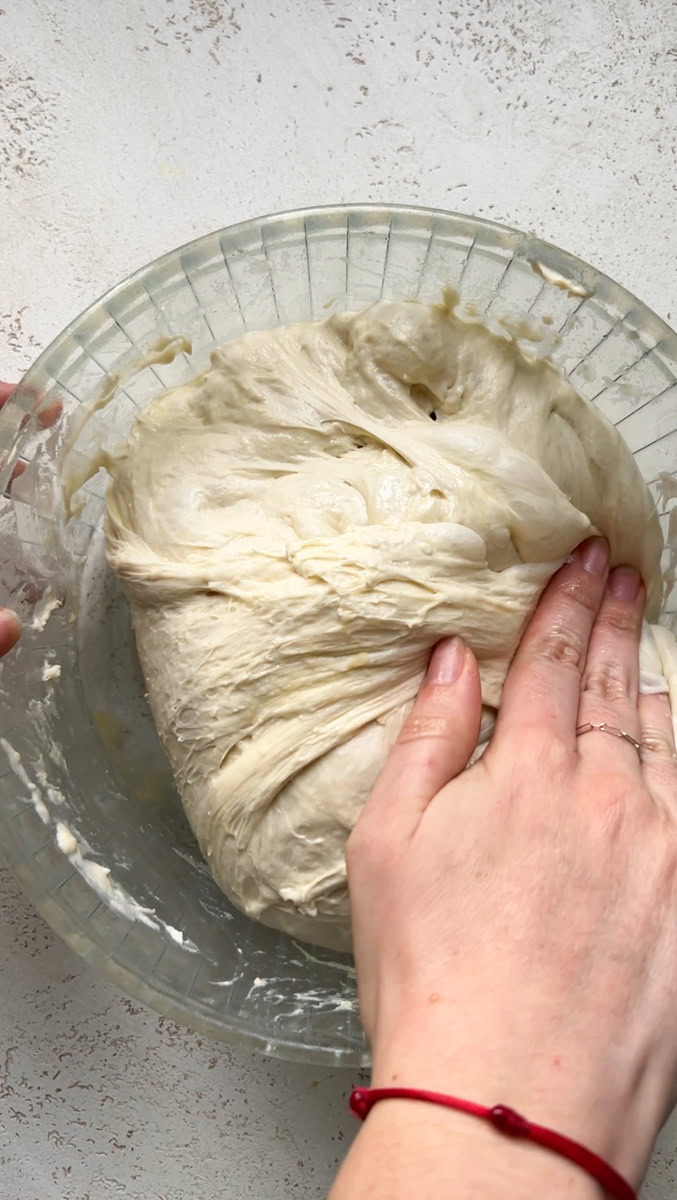
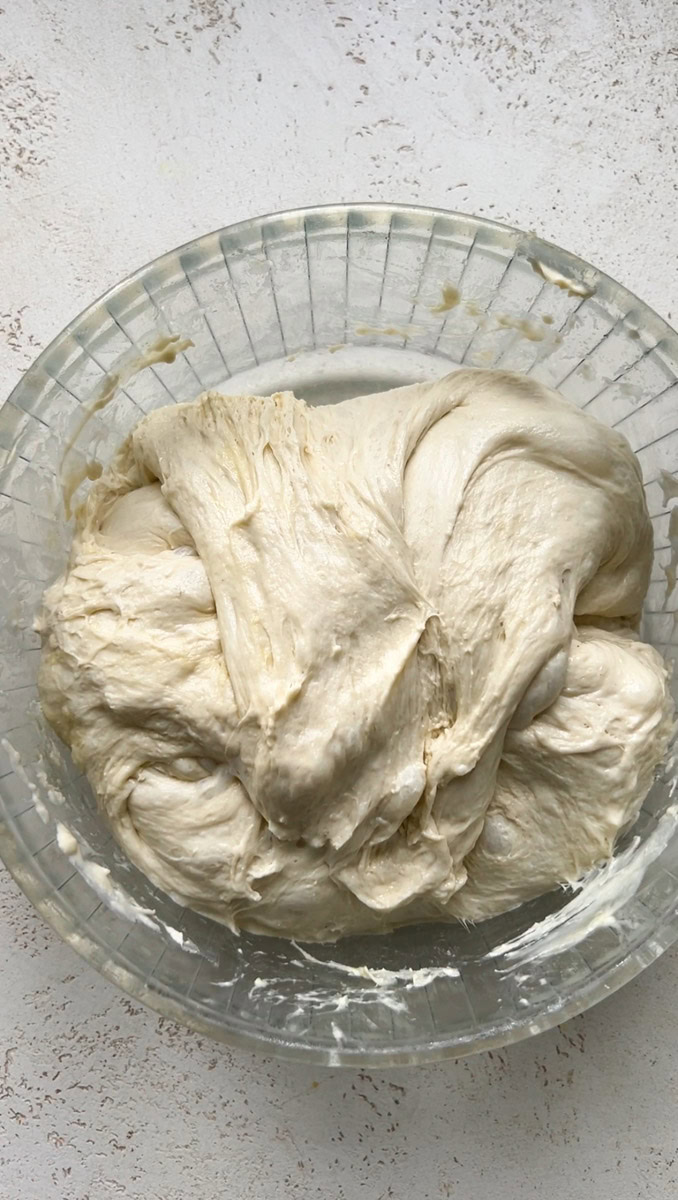
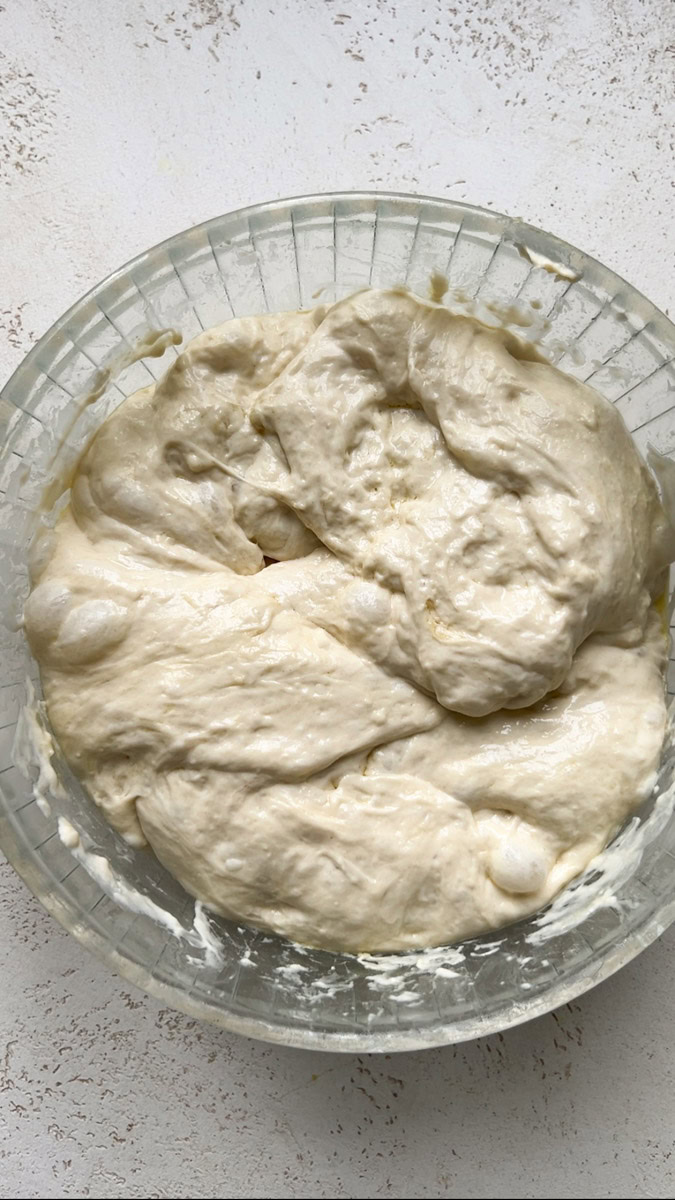
- The next day, the dough has grown a lot.
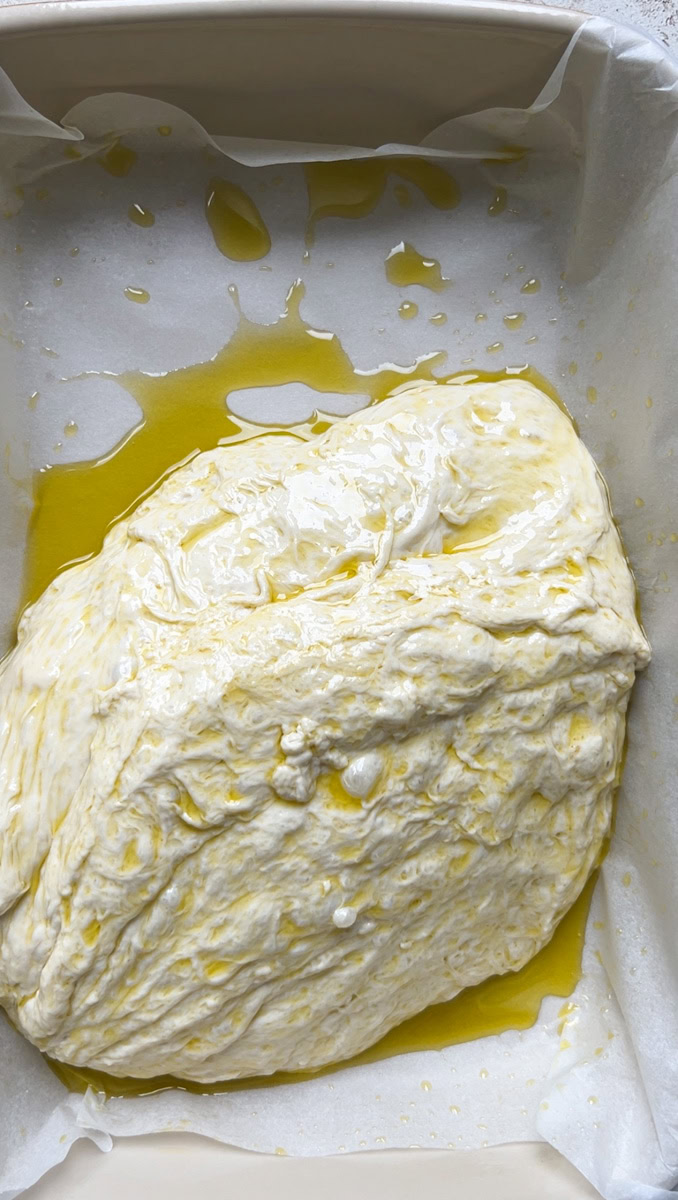
- Put some parchment paper in your ovenproof dish, put 15 g of olive oil on top and transfer dough in it.
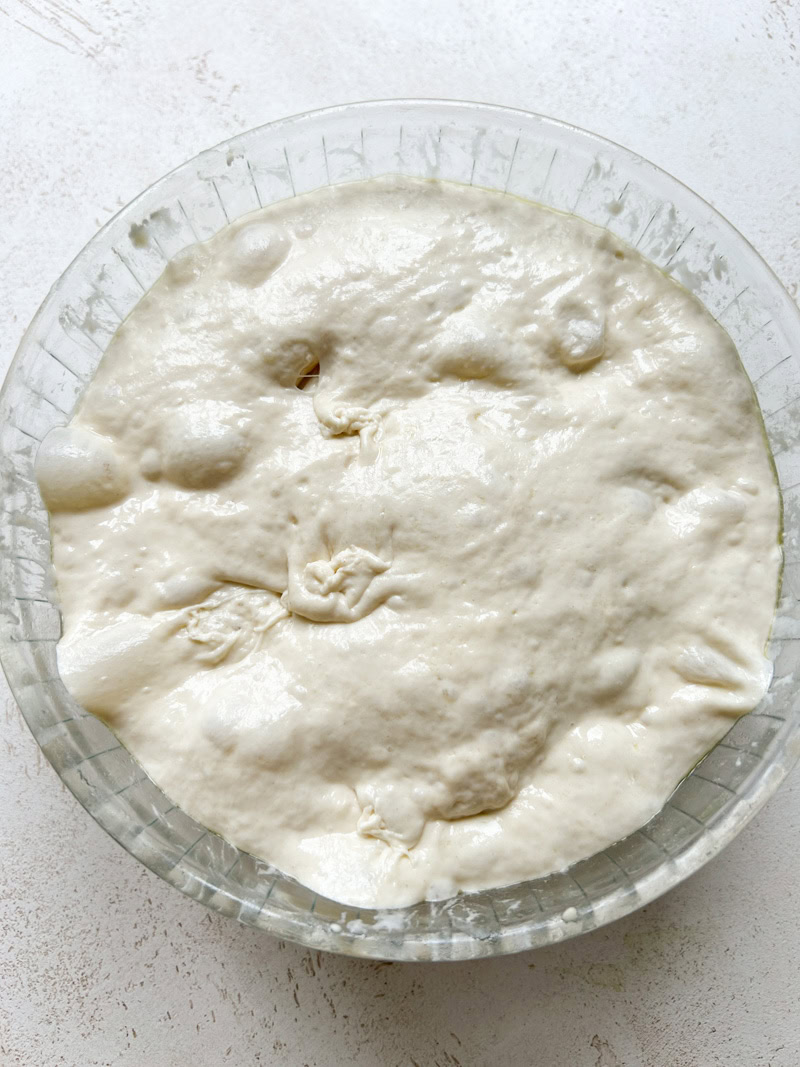
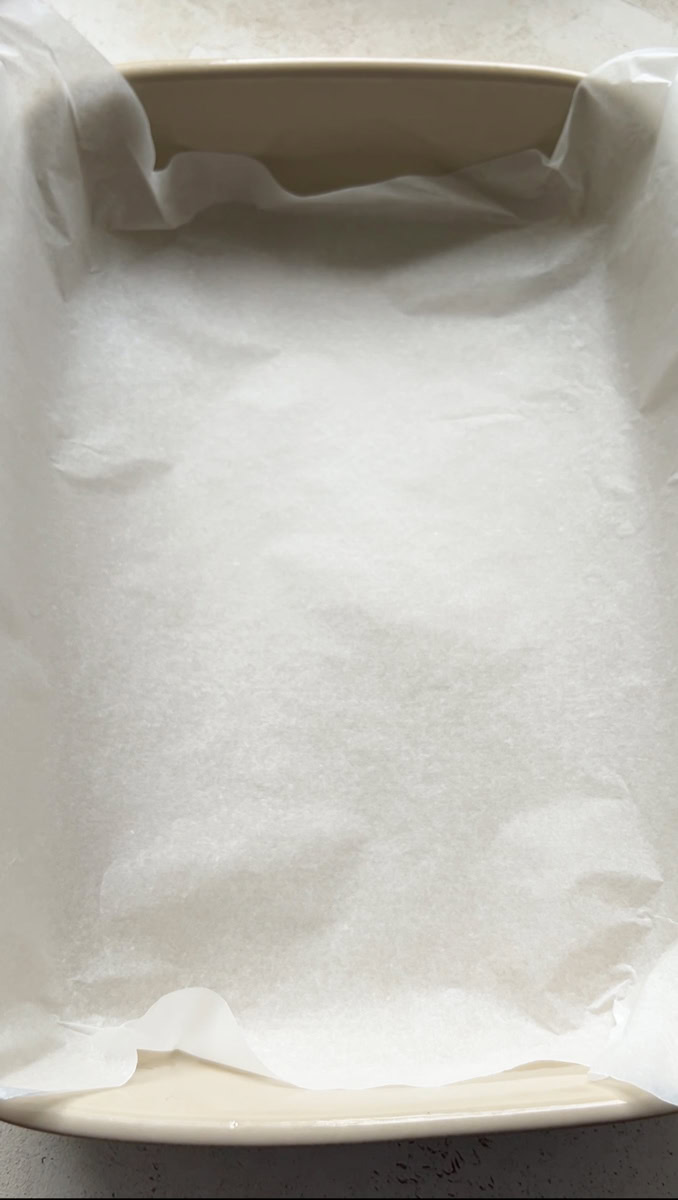
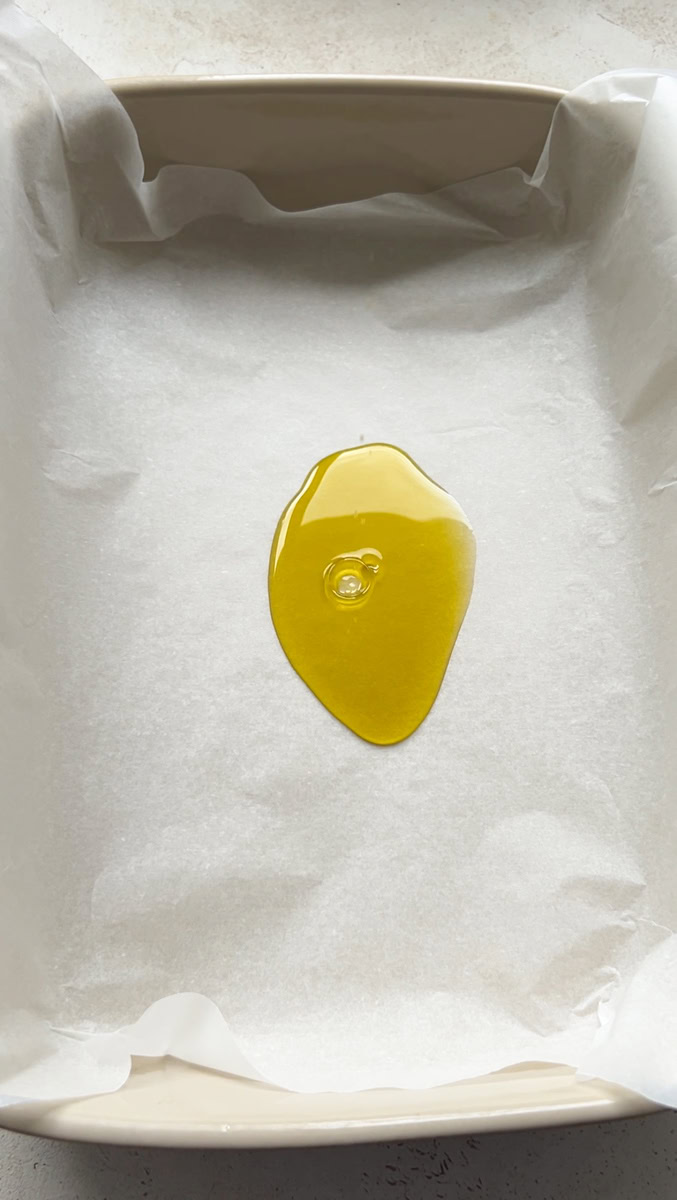
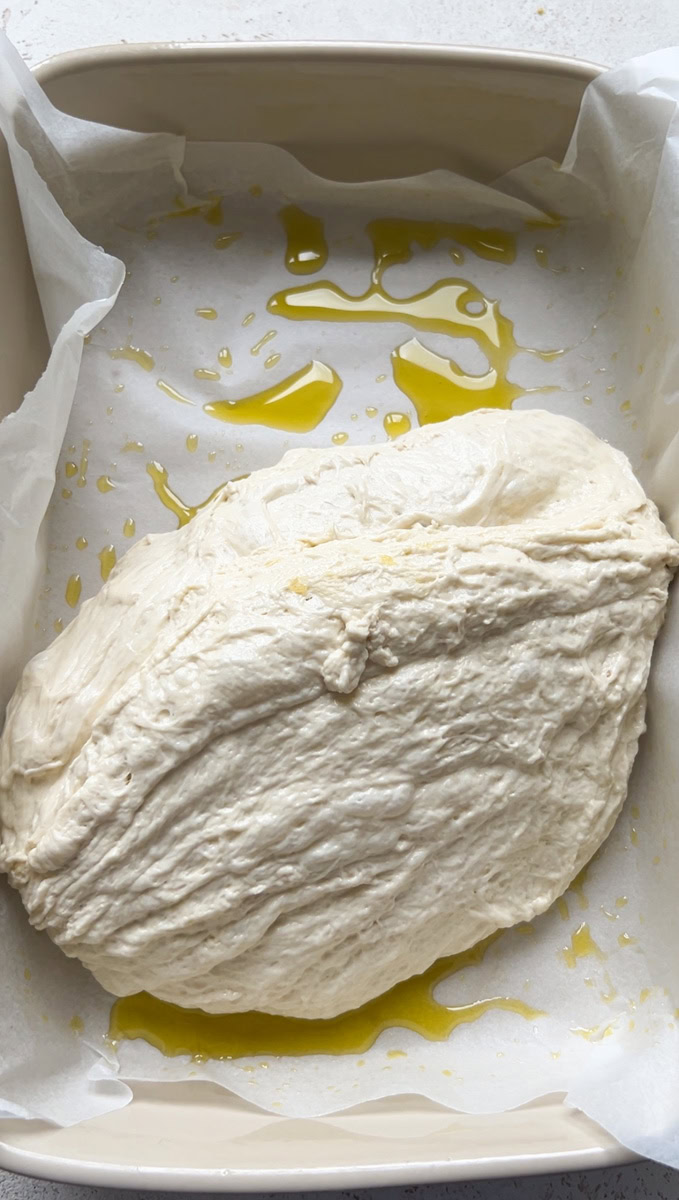
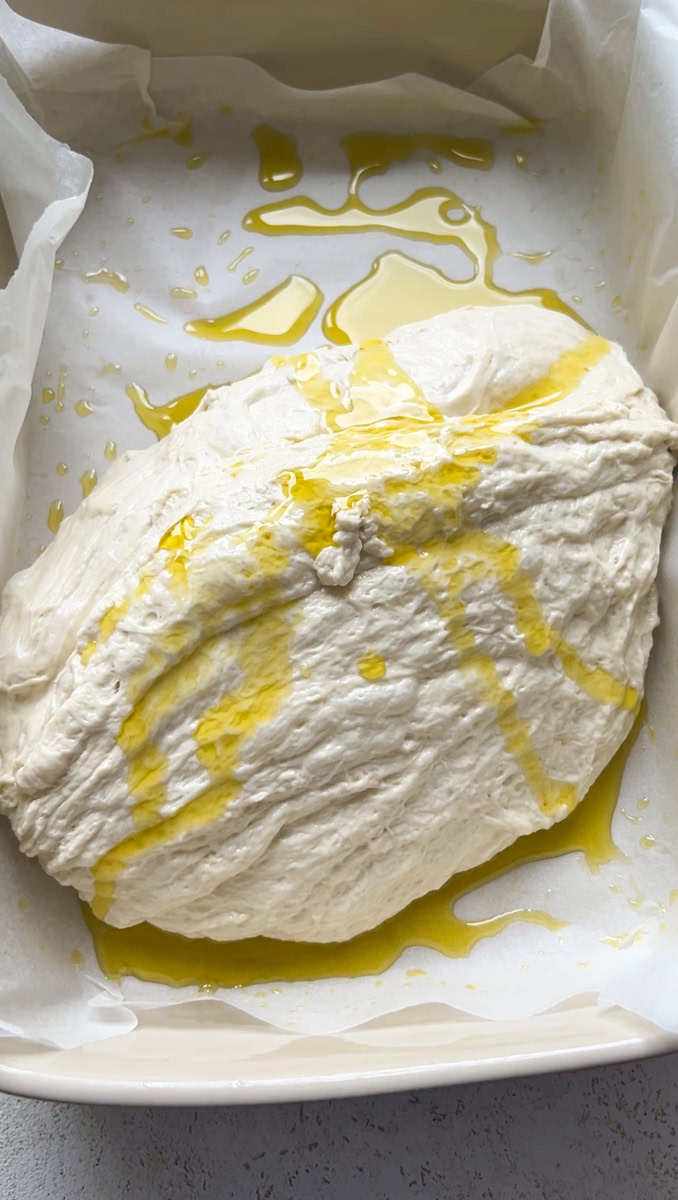
- Add the remaining 10 g of olive oil.
- Very gently run your fingers over the top of the dough to get olive oil all over (small bubbles may appear, this is normal, don't remove them).
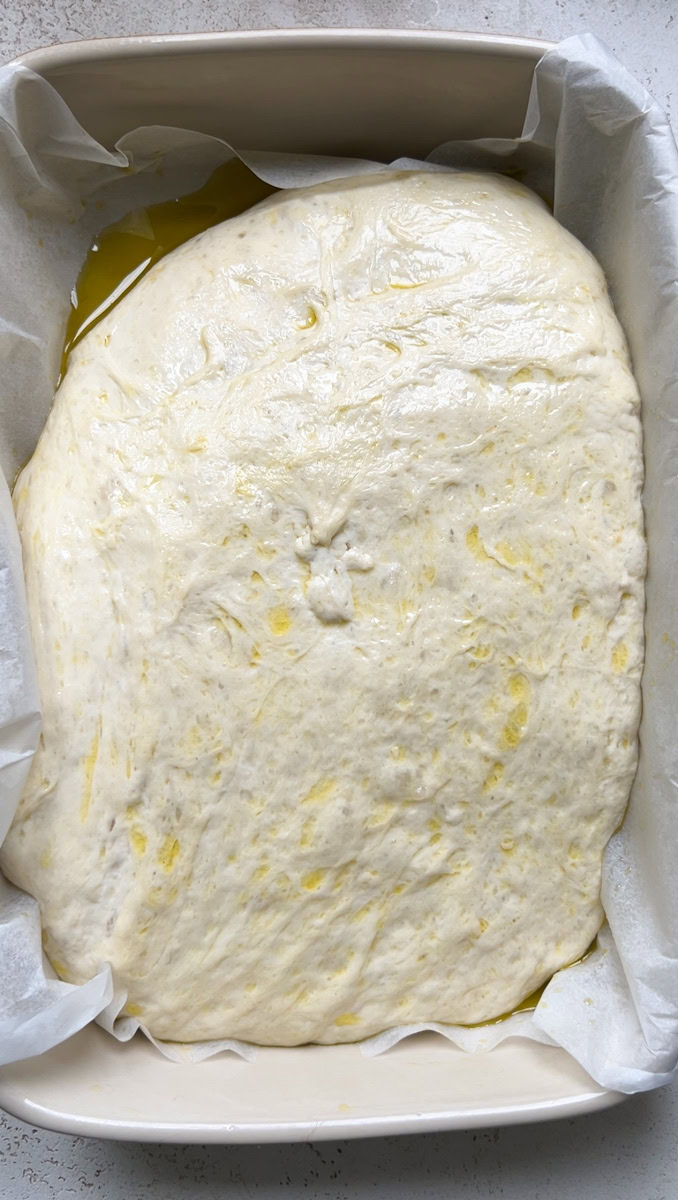
- Cover with a clean kitchen towel and leave to rise for a second time, for 2 hours at room temperature.
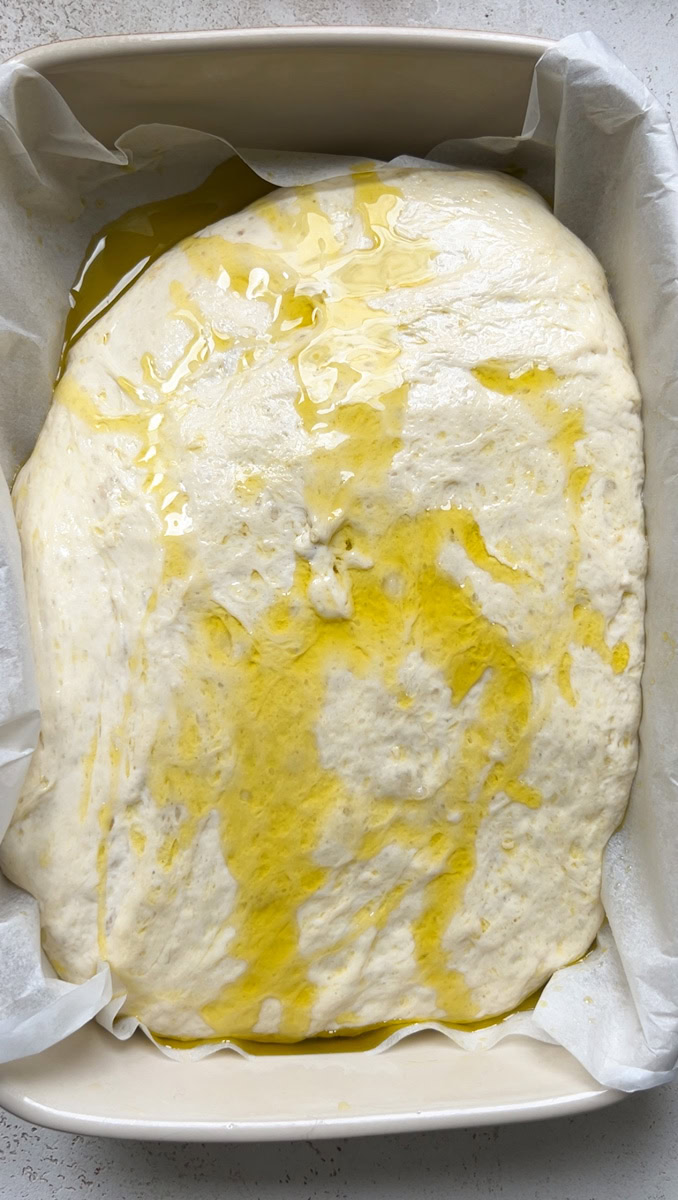
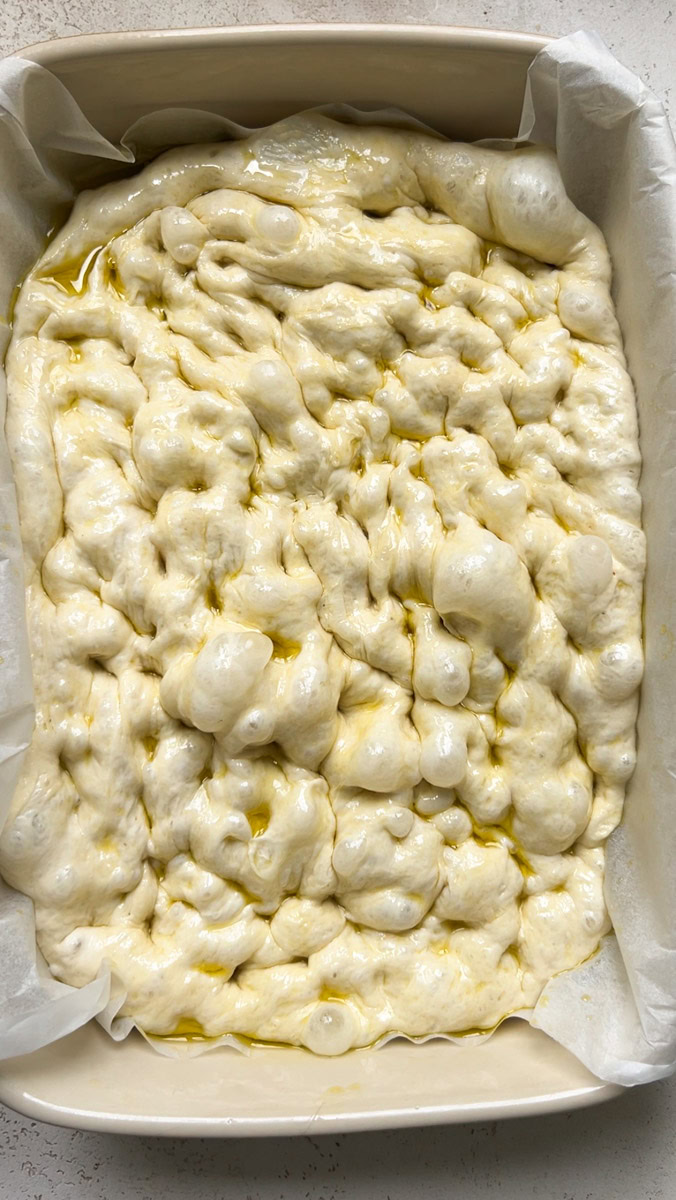
- Preheat your oven to 390°F/200°C (fan-assisted). Add 15 g olive oil on the surface of the dough and make gentle holes by shaking with your fingers (you'll see air bubbles appearing, my favorite part!).
- Sprinkle with flaky sea salt and fresh rosemary.
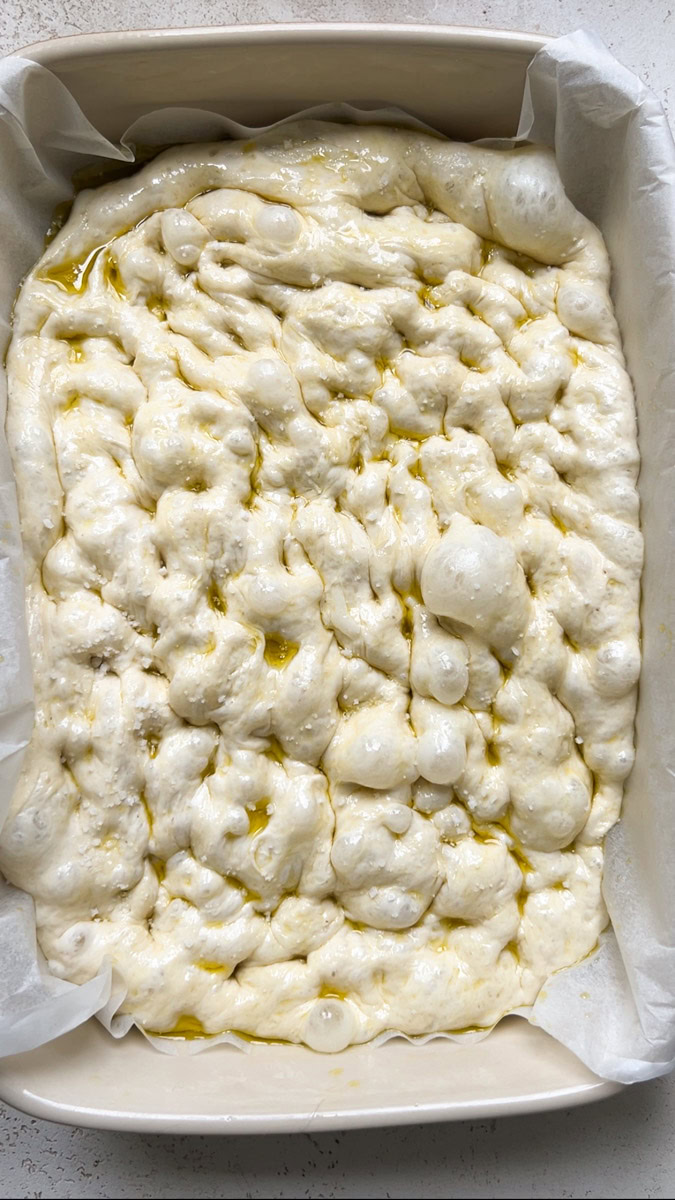
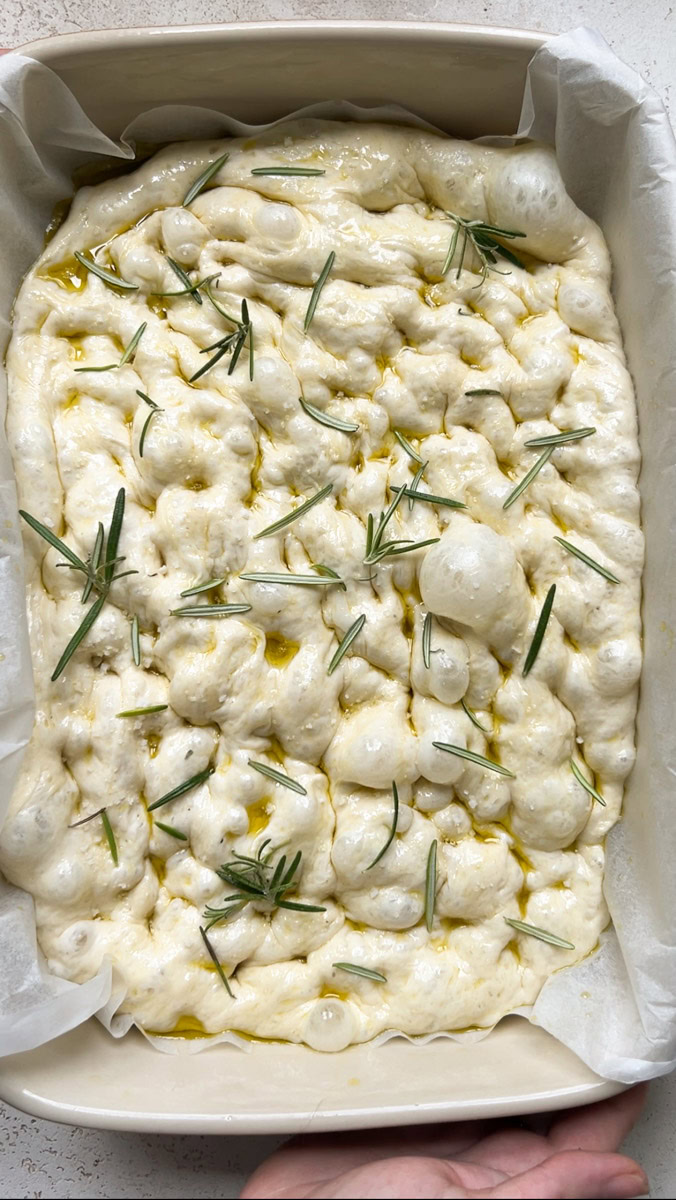
- Bake for 23-25 minutes.
🥰 Chef's tips
The different rises
- To ensure that the dough rises well, I place plastic wrap on the bowl and tape it down so that no air can get through. You can do the same with a bee-wrap. Don't just use a simple towel, as seen in many recipes, because it won't protect the dough against the cold air in the fridge, and you'll end up with a weird crust on top of your dough.
- First rise (overnight rise) - leave the dough to rise in the refrigerator for 18 hours (you can go up to 24 hours). I know, it may seem like a long long time, but this is REALLY what allows the dough to develop its aromas, flavours and that texture we love so much!
- Second rise - leave the dough to rise in a warm place, at around 82-86°F/28-30°C, for 2 hours. During that time,the dough will return to room temperature (and it's important after such a long time spent in the refrigerator) and continue to develop. If the weather is warm, I let the dough rise at room temperature. In winter, however, I turn on my oven at 86°F/30°C: once it's reached that temperature, I turn it off and let it cool for 10 minutes with the door open. If, like me, you have a thermometer, even better! Then I put my bowl with the dough in the oven, close it and leave it there to rise.
The dish and baking
- I recommend using a baking dish - without it, and the dough spreads out and the focaccia doesn't rise. It's not fluffy at all, dries quickly and is flat. Mine is rectangular and measures 9.5-inch width x 13-inch length (you can use also a round one if you prefer). If you use a mold that is too large, you'll end up with the same problem will arise: your focaccia will spread out, be flat and dry...
- For baking, use the fan-assisted mode of your oven.
- Do not open your oven for the first 20 minutes of baking, as this is when the dough will rise well.
💡Frequently Asked Questions
I really wouldn't recommend it... I've tried several times and the result is not the same at all! The percentage of protein is lower, and as said above, high-protein flours are much better bread-making because they produce a better gluten structure.
You absolutely can, but even I, who's by nature a bit of a slacker, find that there's really no need for a food processor here, as there's very little kneading involved.
Yes of course! 8 g of instant dry yeast equals 20 g fresh yeast.
❄️ Storage and freezing
- Store - thanks to olive oil, homemade focaccia keeps well over time while remaining soft. Let it completely cool to room temperature after baking, then place it in a large freezer bag, as it will dry out if left in the open air... You can keep it like that for 3 days.
- Freeze - I like to make a large quantity of focaccia so that I can freeze it and enjoy it often. If you wish to slice it first, cut the slices and place them on a plate or baking sheet lined with parchment paper. First, you'll "pre-freeze" them. After 3 hours, you can put them all in the same freezer bag. Remember to remove as much air as possible, and don't forget to write the date. They can be kept for 2 to 3 months.
- Defrost - just pop the slices in a preheated oven (320°F/160°C) for 5 to 15 minutes.
🇮🇹 Other Italian gems
- Creamy shrimp Alfredo Linguine
- Best Margherita pizza with mozzarella-filled edges
- Lemon mascarpone pasta
If you make this focaccia, it would be so nice to leave me a comment and rate the recipe ⭐️⭐️⭐️⭐️⭐️. You can also tag me on Instagram, Pinterest, Facebook or Tik Tok, or even send me a photo, I love seeing my little dishes in your homes!
📖 Recette
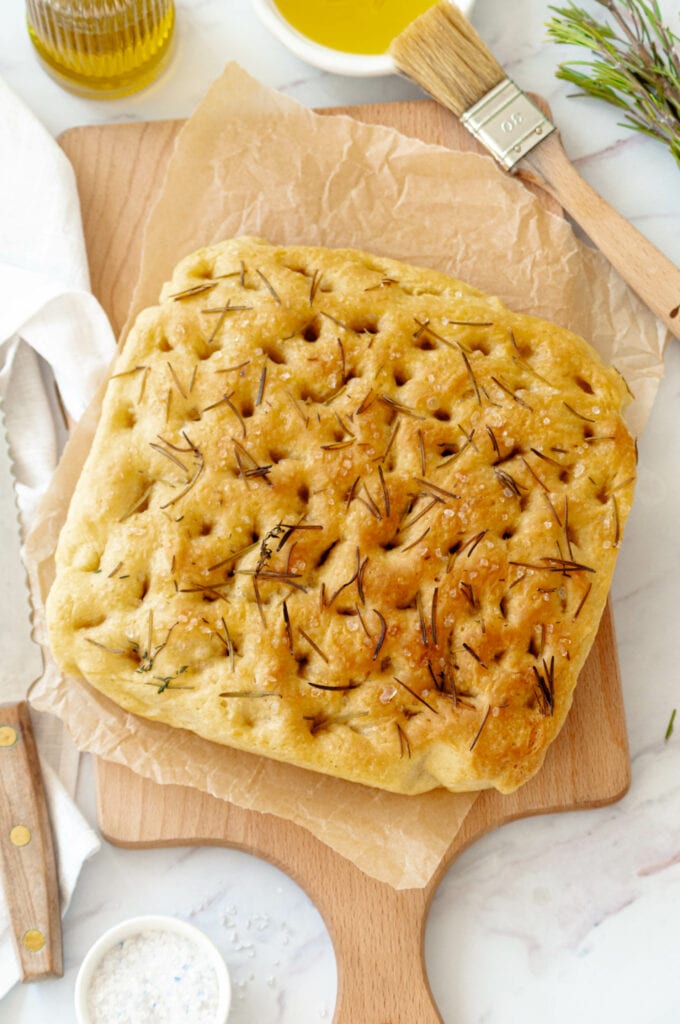
The best and easiest no-knead focaccia (no sourdough)
Ingredients
- 4 cups Italian bread flour 00 type (500g)
- 2 ½ teaspoons instant dry yeast (8g)
- 1 ⅔ cups warm water (400g)
- ⅓ cup extra virgin olive oil high-quality olive oil, divided (80g)
- 1 teaspoon honey
- 1 teaspoon salt (5g)
- ½ teaspoon sea salt (3g)
- rosemary fresh or dried, to taste
Instructions
Day before
- Mix the flour and instant dry yeast in a large bowl. Melt the honey in another bowl with the lukewarm water, then add the mixture. Mix coarsely with a rubber spatula.
- Add 40 g olive oil, fine salt and mix with your hands this time (the dough is very sticky, which is normal). Leave to rest for 20 minutes.
- Moisten your hands, make 3 series of 4 folds and leave to rest for 20 minutes.
- Moisten your hands, make 3 series of 4 folds and leave to rest for 20 minutes.
- Moisten your hands one last time, make 3 series of 4 flaps, cover the bowl tightly (otherwise you'll end up with a crust) and put in the fridge for 18h (be careful not to put the bowl in the coldest part, which is often at the top, but in the middle instead).
D day
- The next day, the dough has grown a lot. Put some parchment paper in your ovenproof dish, put 15 g of olive oil on top and transfer dough in it.
- Add the remaining 10 g of olive oil. Very gently run your fingers over the top of the dough to get olive oil all over (small bubbles may appear, this is normal, don't remove them).
- Cover with a clean kitchen towel and leave to rise for a second time, for 2 hours at room temperature.
- Preheat your oven to 390°F/200°C (fan-assisted). Add 15 g olive oil on the surface of the dough and make gentle holes by shaking with your fingers (you'll see air bubbles appearing, my favorite part!).
- Sprinkle with flaky sea salt and fresh rosemary. Bake for 23-25 minutes.
Notes
- Store - thanks to olive oil, homemade focaccia keeps well over time while remaining soft. Let it completely cool to room temperature after baking, then place it in a large freezer bag, as it will dry out if left in the open air... You can keep it like that for 3 days.
- Freeze - I like to make a large quantity of focaccia so that I can freeze it and enjoy it often. If you wish to slice it first, cut the slices and place them on a plate or baking sheet lined with parchment paper. First, you'll "pre-freeze" them. After 3 hours, you can put them all in the same freezer bag. Remember to remove as much air as possible, and don't forget to write the date. They can be kept for 2 to 3 months.
- Defrost - just pop the slices in a preheated oven (320°F/160°C) for 5 to 15 minutes.
Nutrition
This post may contain affiliate links, which means I’ll receive a commission if you purchase through my links, at no extra cost to you. Please read full disclosure for more information.



Susie
Hi Marie, thank you for sharing such wonderful focaccia recipe. Can I use the same recipe as pizza base? I noted that you mentioned a different pan can create a flat dough. Is there a recipe for no sourdough starter pizza base?
Thank you.
Marie
Hi Susie! Happy you like it:) I'm not sure it would be great as a pizza base...but you can check this one out: https://mariefoodtips.com/en/mushroom-pesto-pizza/